Setting it up
- 1Open the template in the editor, then the task that should notify on completion.
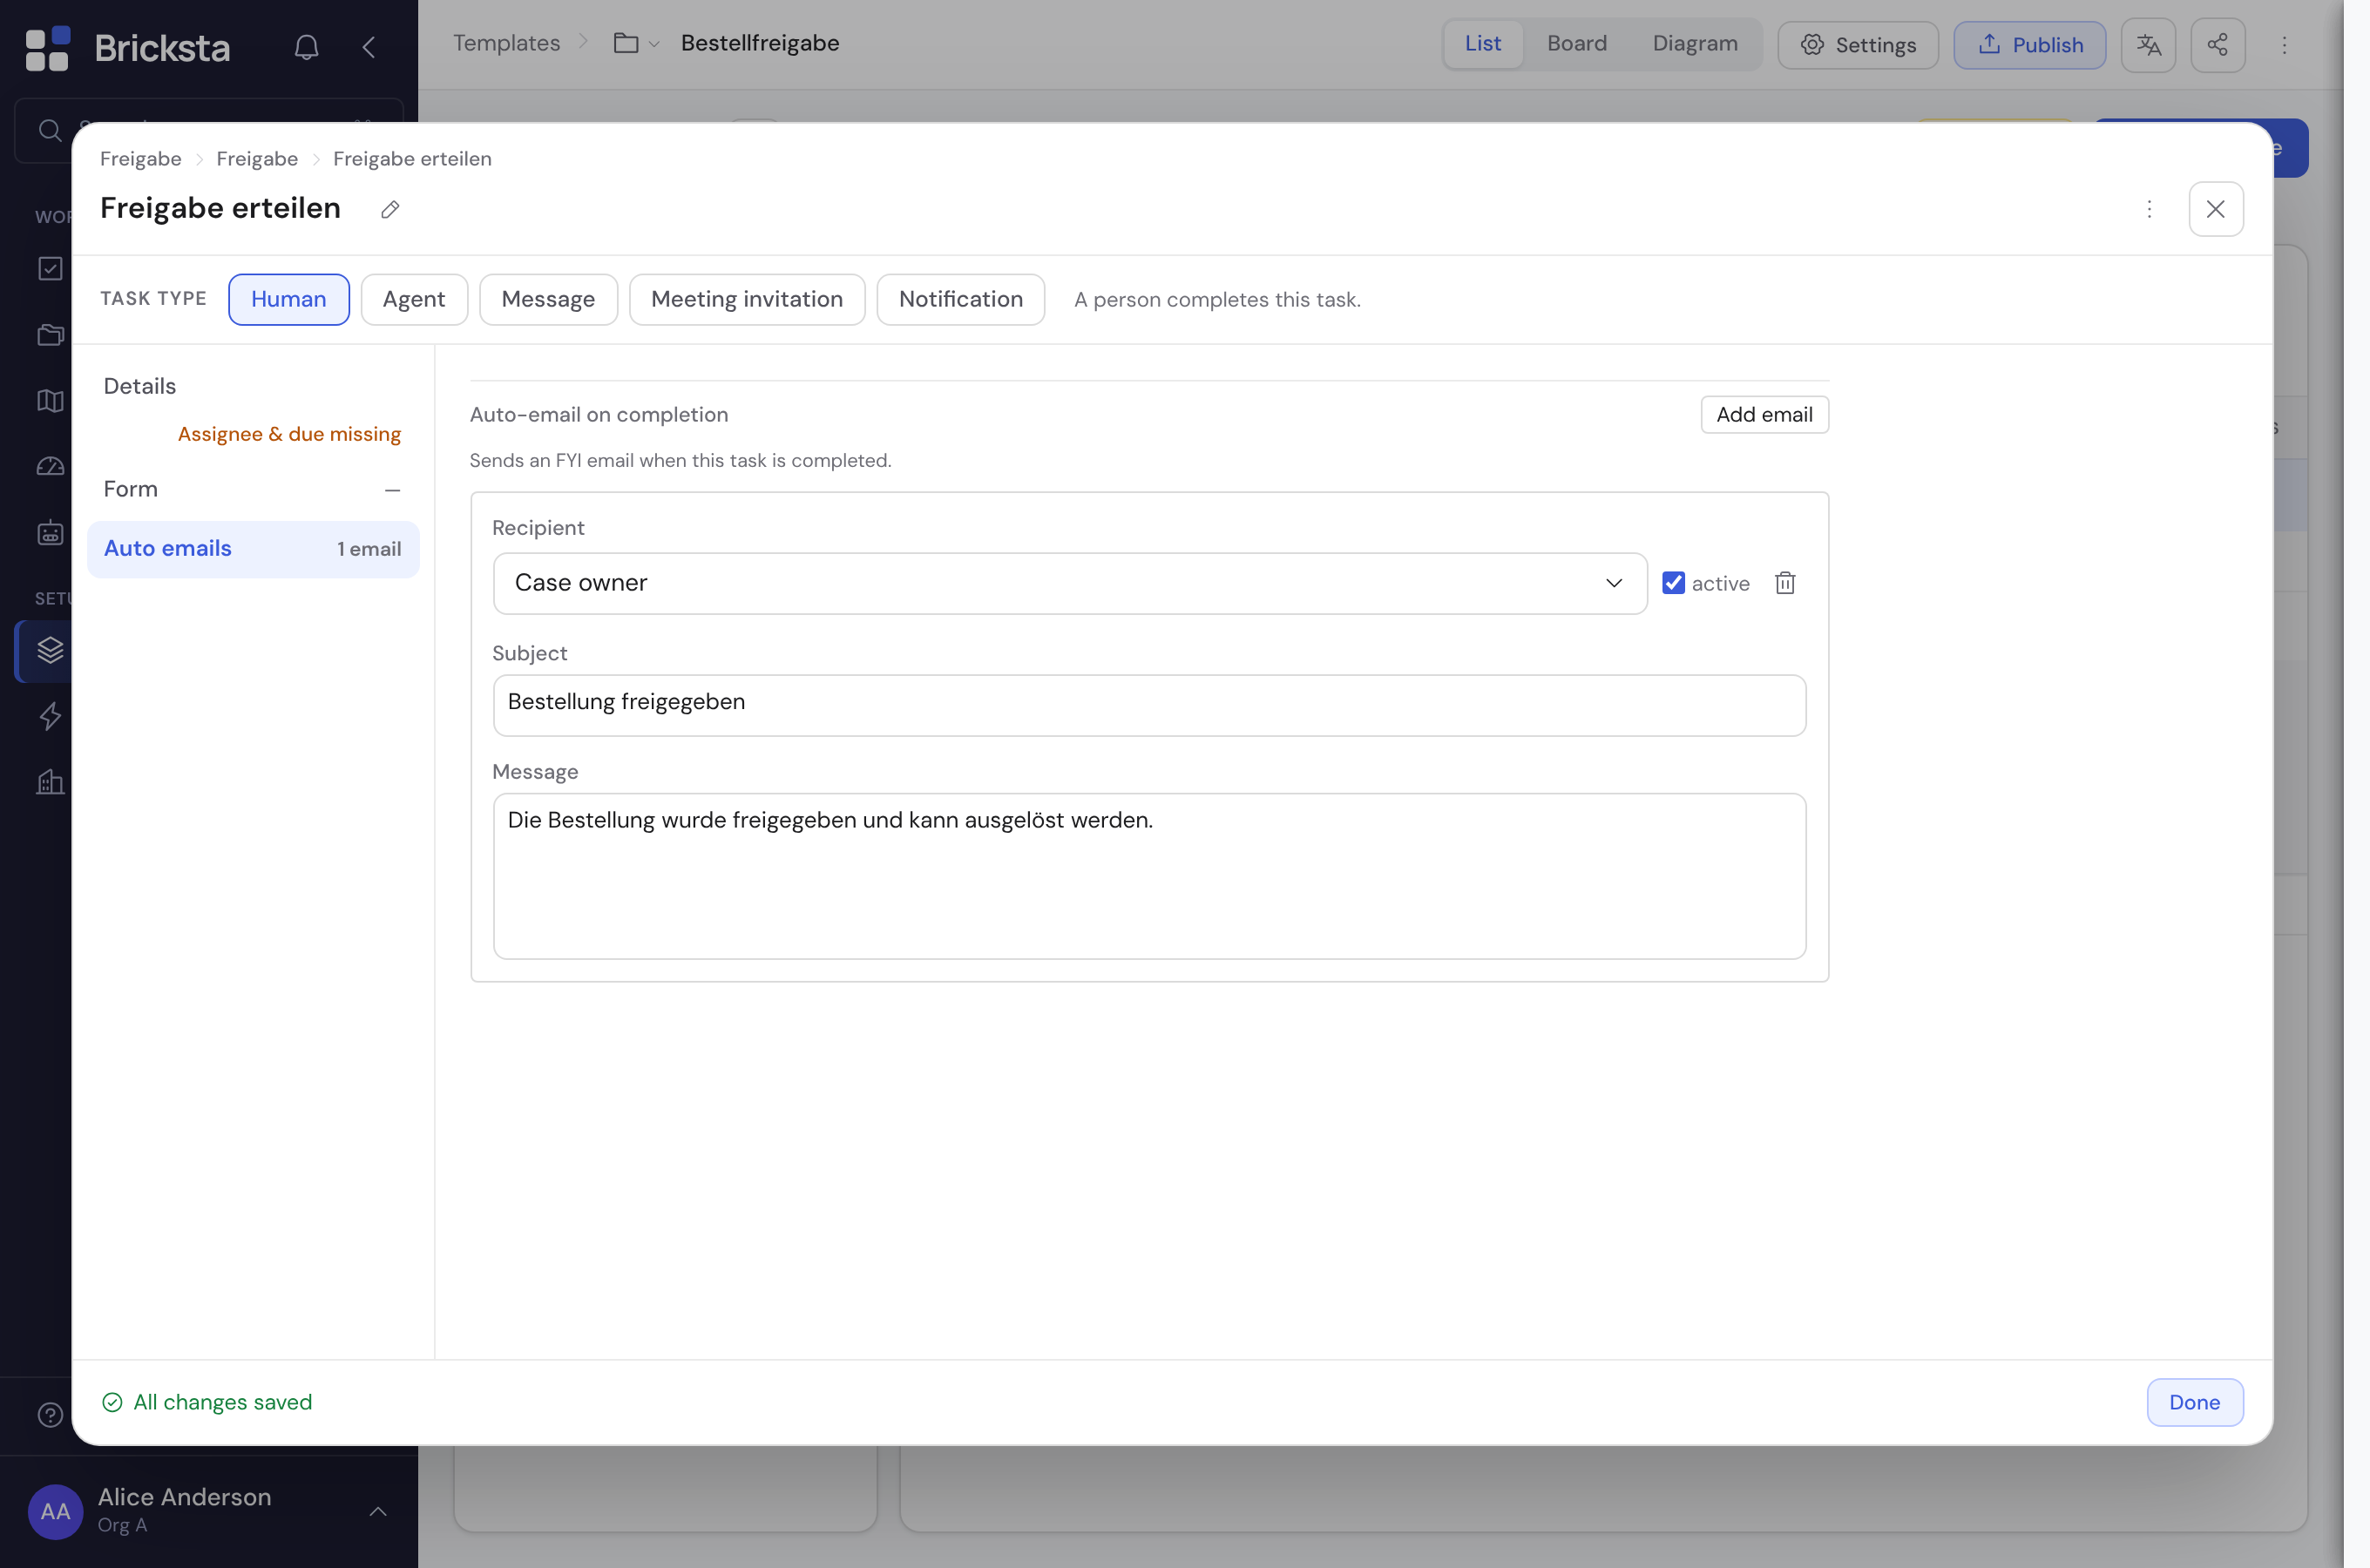
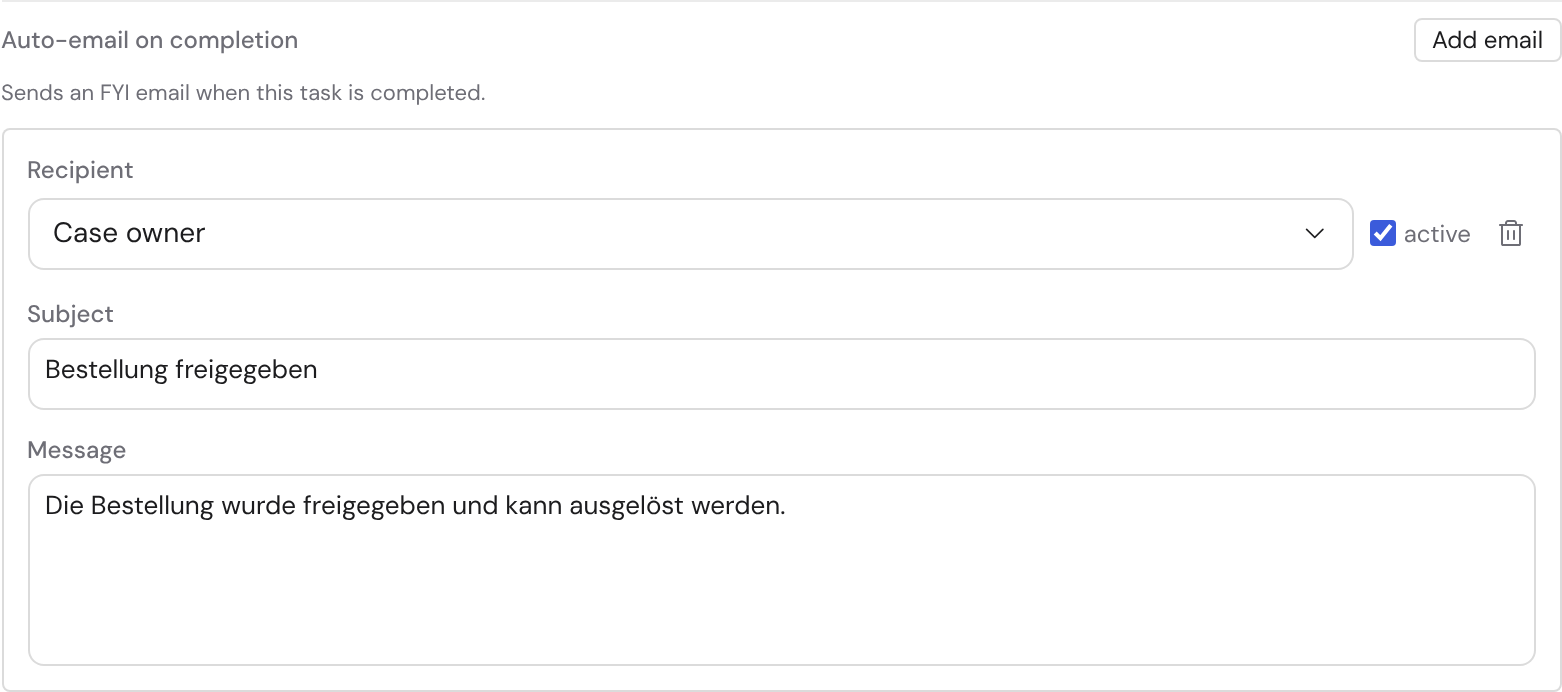
- 2In the “Auto-email on completion” section, add a notification via “+ Email”.
- 3Choose the recipient: the case owner, a fixed address, an email field of the case, an internal member or an external contact.
- 4“Internal member” is a fixed person in your organization. “External contact”, by contrast, is a role of the template (say “Customer”) — who fills it is decided per case, and the email goes to the person entered there. If the role is unstaffed in the case, or the member has since been deactivated, this auto-email is skipped — completing the task is unaffected.
- 5Enter the subject and message. Via “Insert field” you place a field at the cursor; it appears as a highlighted token carrying the field's name, and Bricksta replaces it with the case value when sending.
- 6As email fields and placeholders, Bricksta only offers fields with a merge key from true predecessor tasks and from this task itself; later or parallel tasks are intentionally absent because their values are not reliable at completion time.
- 7As FIELD recipients, only true email fields qualify: a member or contact field of the case cannot be picked as a field here. To mail the person somebody selected in such a field during the case, use a send-message step instead.
When to use auto-email vs. “Message”
Auto-emails are meant for short, non-blocking notifications (“FYI, step done”) — the flow does not wait for them. If instead you need a customer-facing, process-carrying message that should be reviewed (such as a quote or a proposed appointment), use the “Message” task type as a dedicated step in the flow.
Difference from the “Message” task type: an auto-email on completion is sent only after this task has been filled and completed. It can therefore use this task's own fields in addition to predecessor fields.
Setting up automatic emails requires the template-management right (template.manage).