On this page
What a dataset is
A dataset is a small table with fixed columns (the schema) and any number of rows (the entries). One column is the key column — it is searched when looking up, and its value appears as the entry's label. Datasets belong to the organization, not to a single template: the same supplier list can be used across many templates, and once maintained it is up to date everywhere.
Where to find datasets
Open Templates in the menu and choose the Datasets tab. The page is split in two: on the left you create datasets and select one, on the right you edit its column schema and rows.
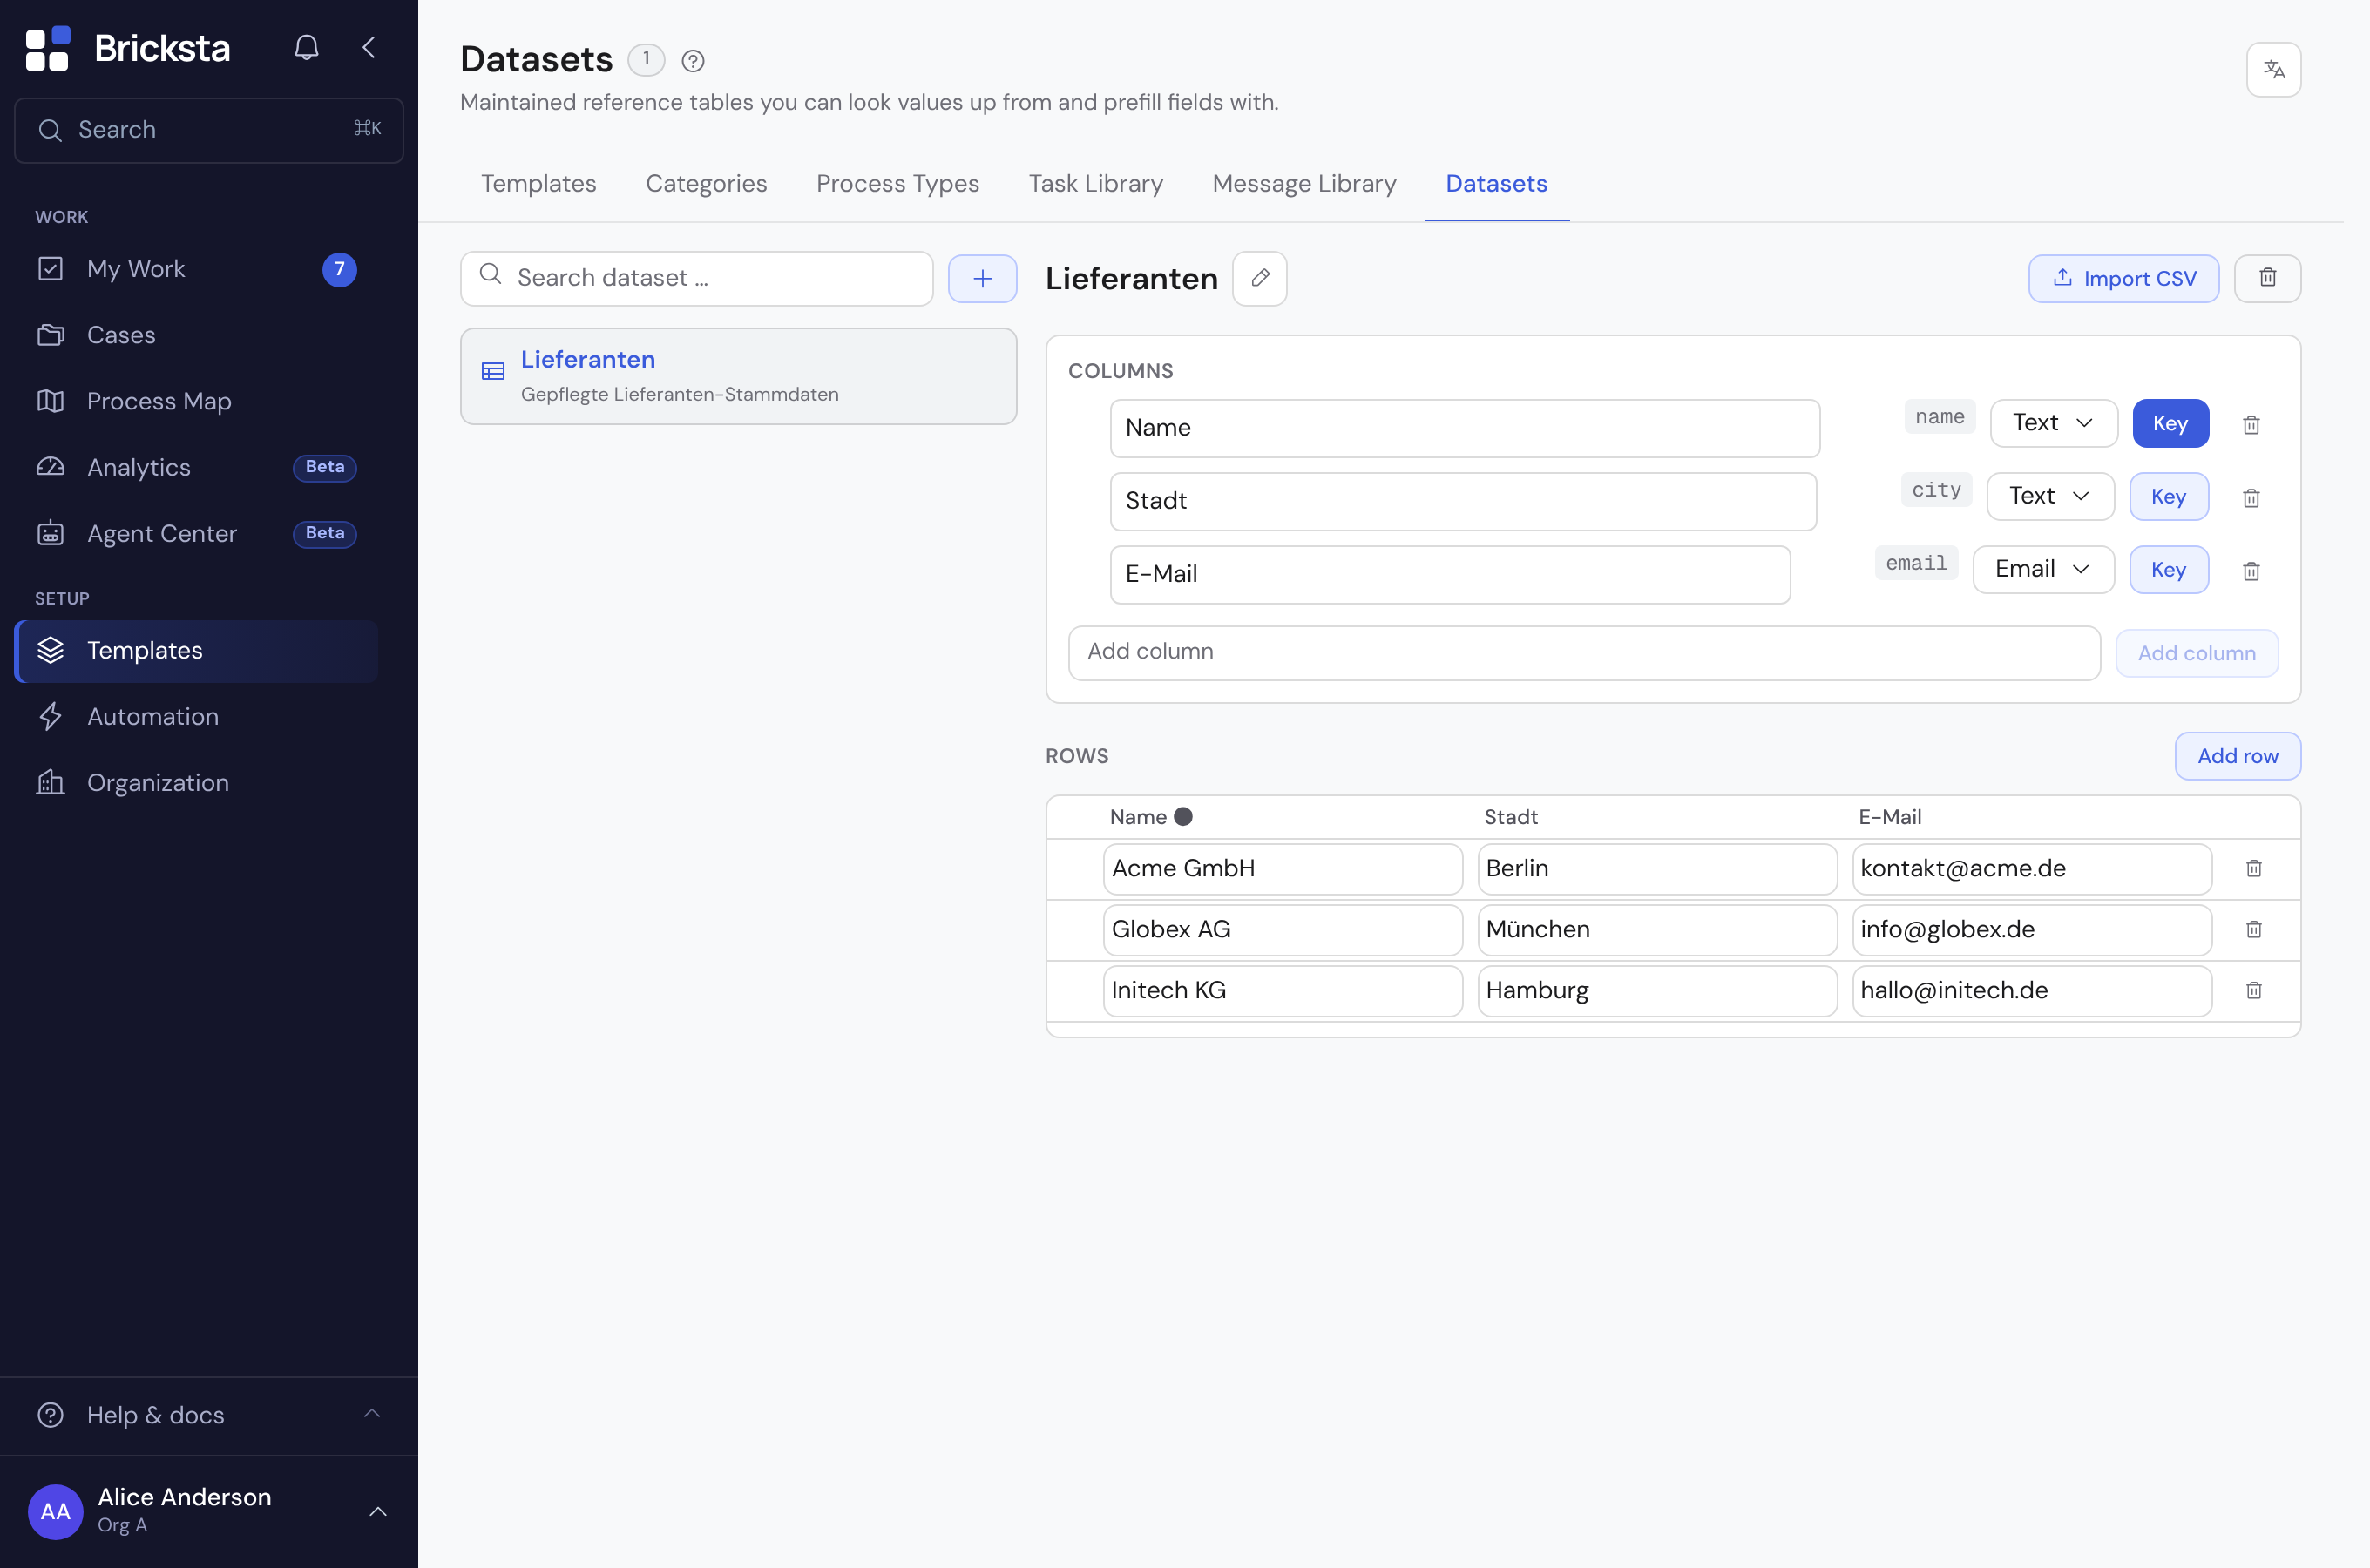
Creating a dataset
- 1Open Templates → Datasets.
- 2Enter a name in the “New dataset name” field at the top left (e.g. Suppliers) and click “Create”.
- 3The new dataset is selected; the empty area for columns and rows appears on the right.
Defining columns
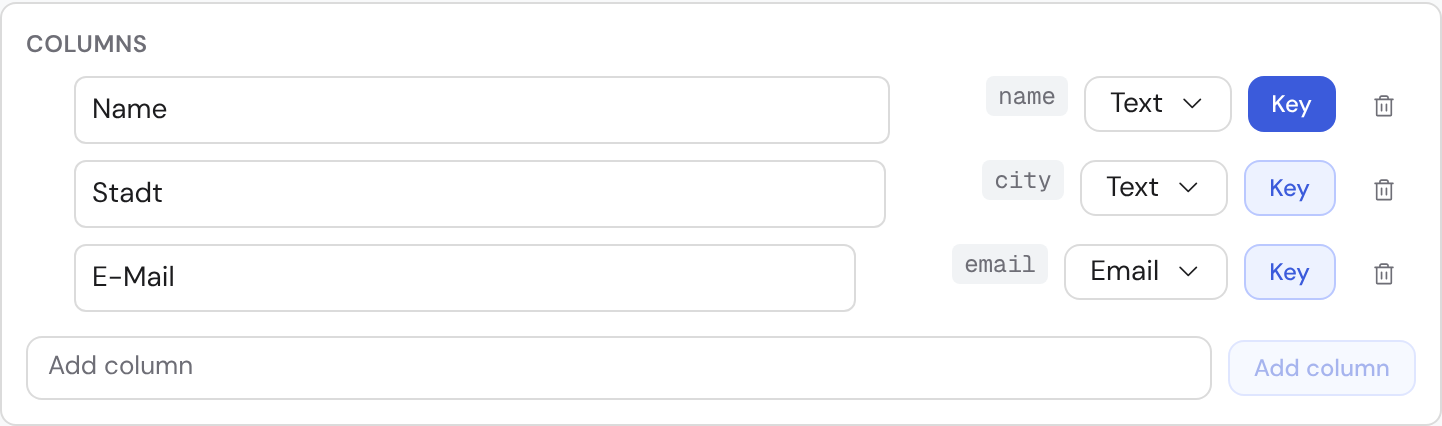
First define the columns — they are the schema for all rows. Each column has a label, a type (text, number, date, email or yes/no) and a short technical key derived automatically from the label. Exactly one column is the key column (marked “Key”): it is searched when looking up, and its value is shown as an entry's label.
- 1Type the label into the “Add column” field at the bottom (e.g. City) and confirm with Enter or “Add column”.
- 2Choose the column's data type via the type selector.
- 3Use “Key” to set the lookup/display column — there can only be one. The first column automatically becomes the key column.
- 4To rename, hover over the label and click the pencil icon; the trash icon removes a column.
- 5Reorder columns by dragging the handle (⋮⋮) to the left of the label — the order determines how the columns appear in the rows table.
- 6If a second language is configured for the organization, a “+ DE/EN” field appears next to each label for the translated column heading (empty = base language).
Entering rows
- 1Click “Add row” at the top of the rows table — an empty row appears at the end.
- 2Click into a cell and enter the value; it is saved when you leave the cell.
- 3Reorder rows by dragging the handle (⋮⋮) at the start of the row.
- 4The trash icon at the end of a row deletes it.

Importing rows via CSV
You don't have to type larger lists — import them as a CSV file. The first line of the file is the header with the column names; every following line is one entry.
- 1Select the dataset and click “Import CSV” at the top right.
- 2Choose the CSV file. Bricksta reads the header: if a column name matches an existing column, the values go there; if a column is missing, it is created (with an empty dataset, the first column becomes the key column).
- 3A short confirmation then reports how many rows were imported.
Values that contain a comma or line break must be quoted in the CSV (e.g. "München, DE") — then they stay a single cell.
Filling a field from a dataset
The real benefit comes when a task field looks up from a dataset. There is a dedicated field type “From dataset” in the template editor: whoever works the case types into the field, picks a row — and the field takes the key column, while other columns of the row are written into other fields of the same form.
- 1Open the template in the editor, then the task with the field that should look up.
- 2Add a field and choose the type “From dataset” (or switch an existing field to that type).
- 3In the “Fill from dataset” section on the right, choose your dataset.
- 4Under “Fill other fields”, map each column to a target field of the form (e.g. column City → field City). The key column goes into the field itself automatically.
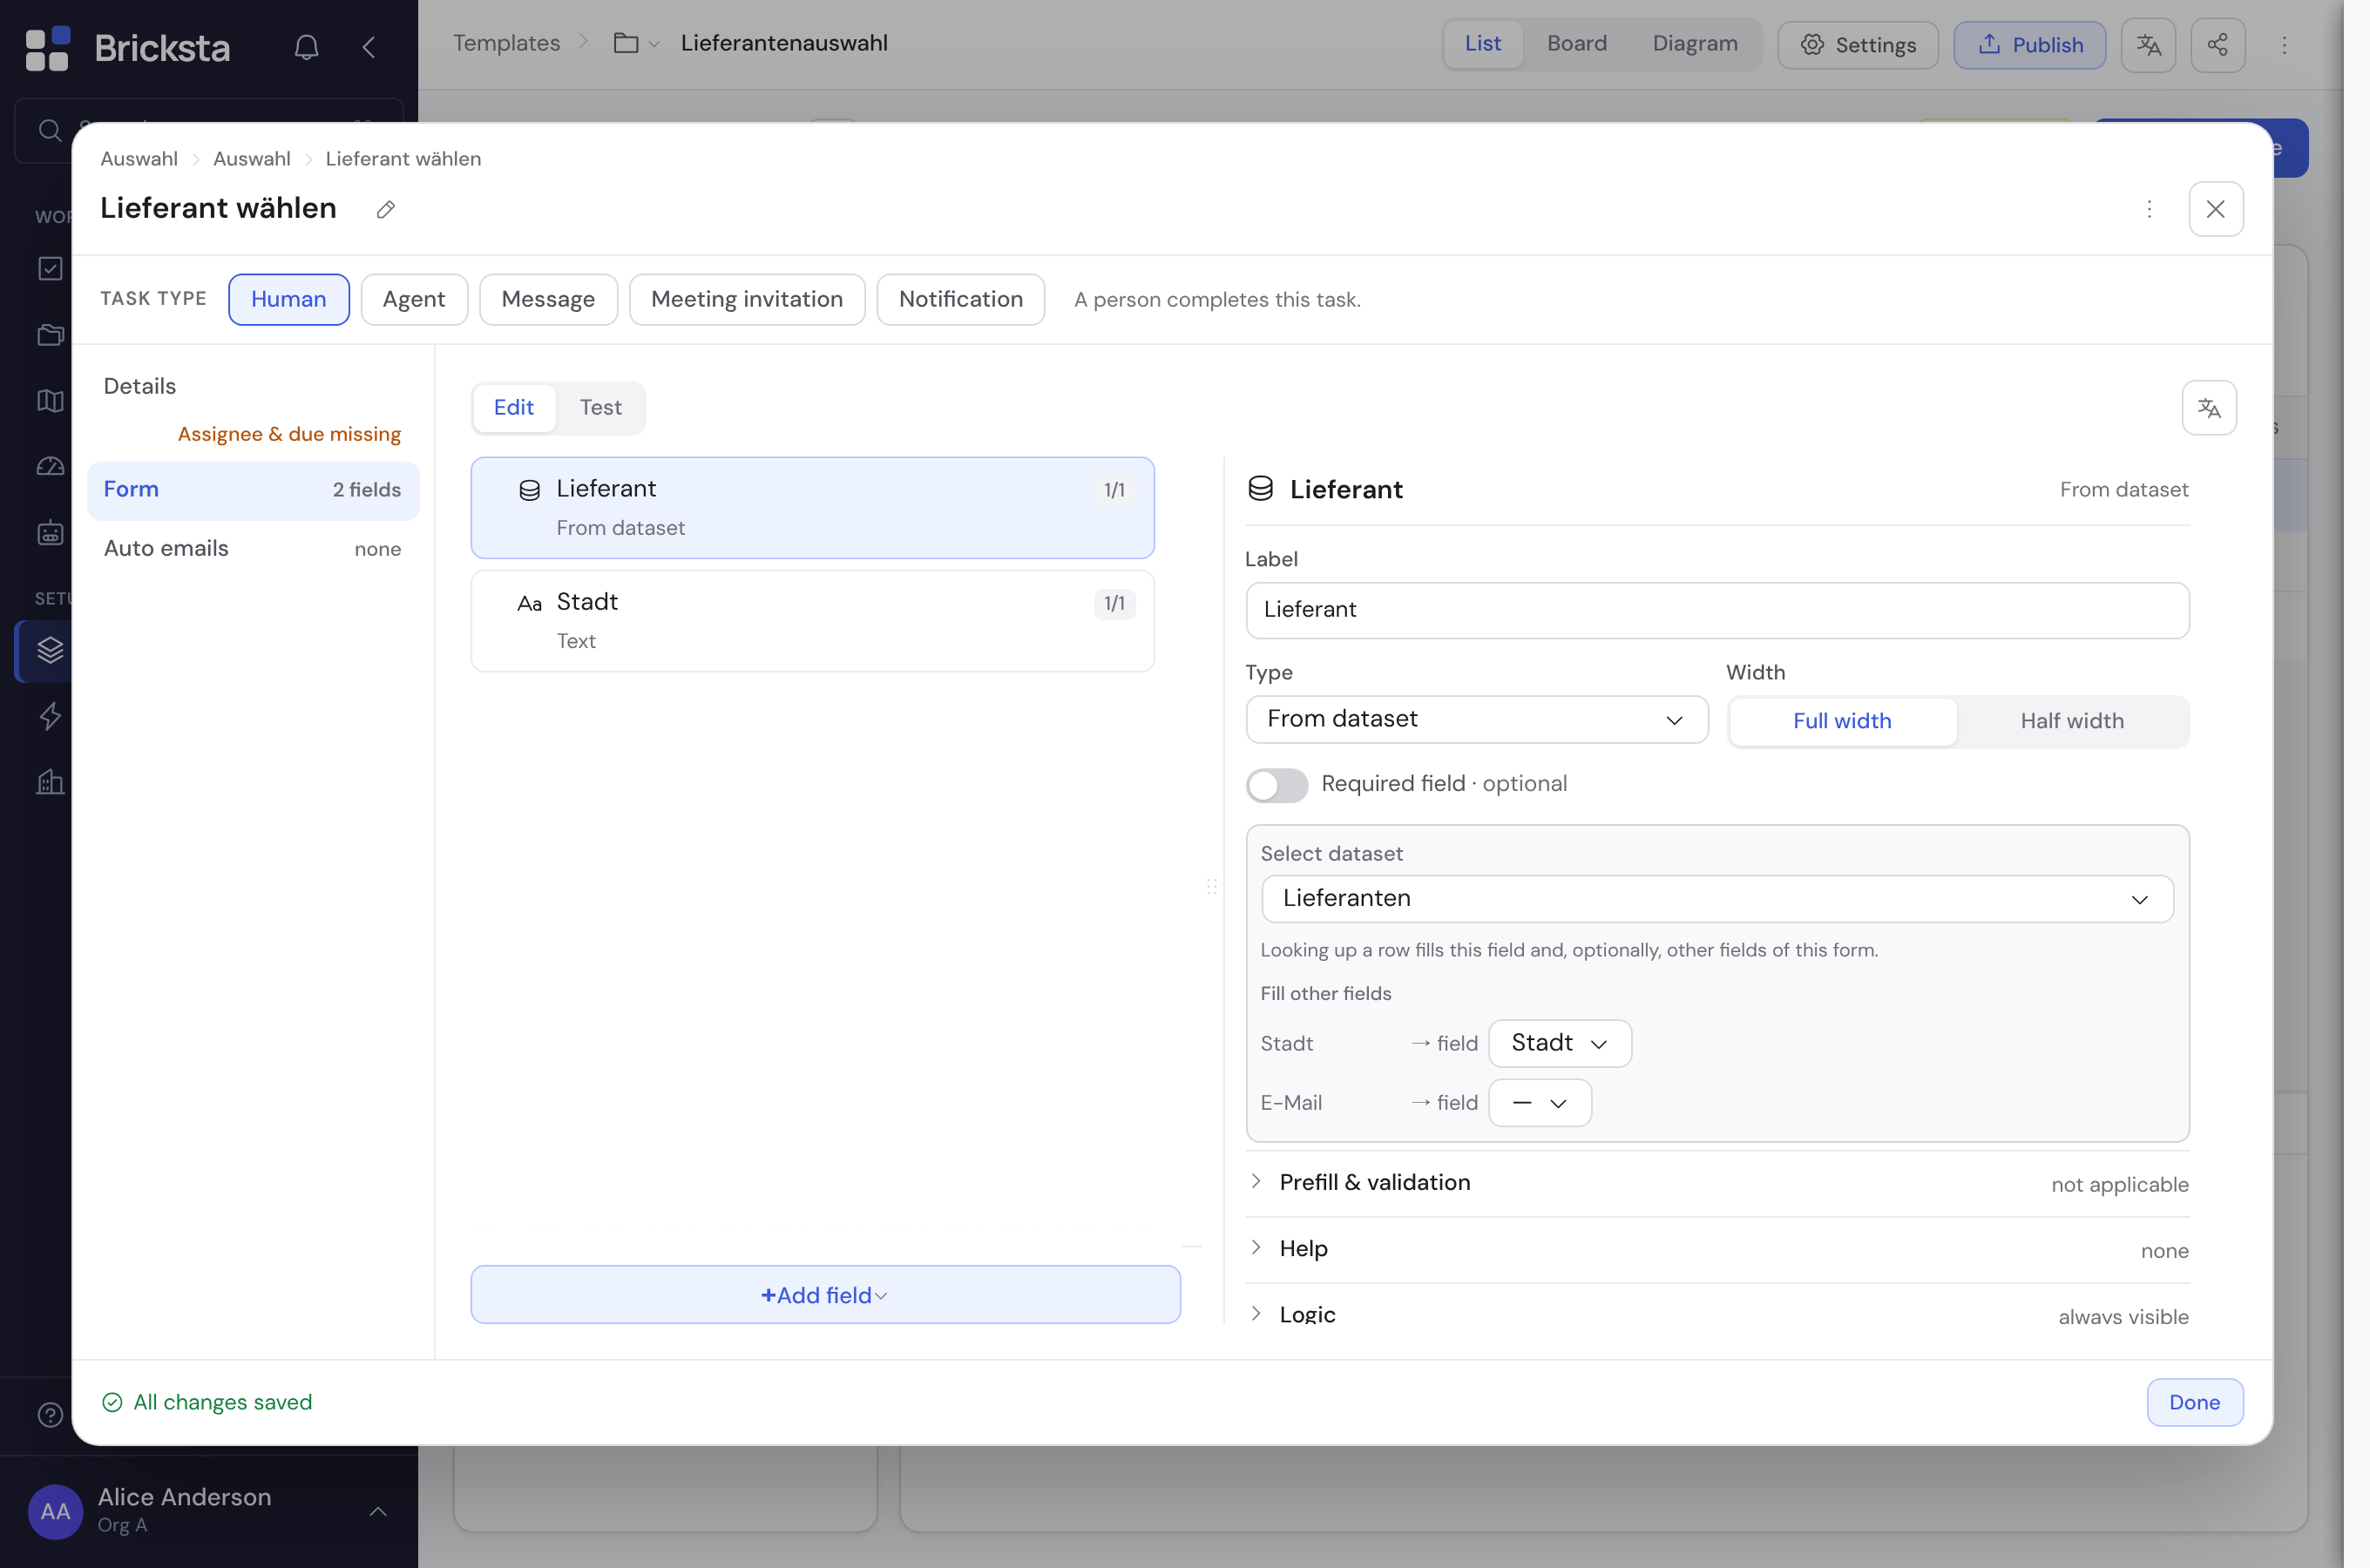
In the running case the field then appears as a search box: typing shows matching entries, a click takes the entry into the field and fills the mapped neighbouring fields automatically — no retyping, and the value always comes from the maintained source.
Managing datasets and binding fields to them requires the template-management right (template.manage).