On this page
The members page
The page has two panes: on the left you search and pick a member in a list — grouped into active members, open invitations and deactivated ones. On the right you open the selected member's details and manage them there: change the type, transfer ownership or deactivate. Use the plus next to the search field to bring someone new in — by invitation or created directly.
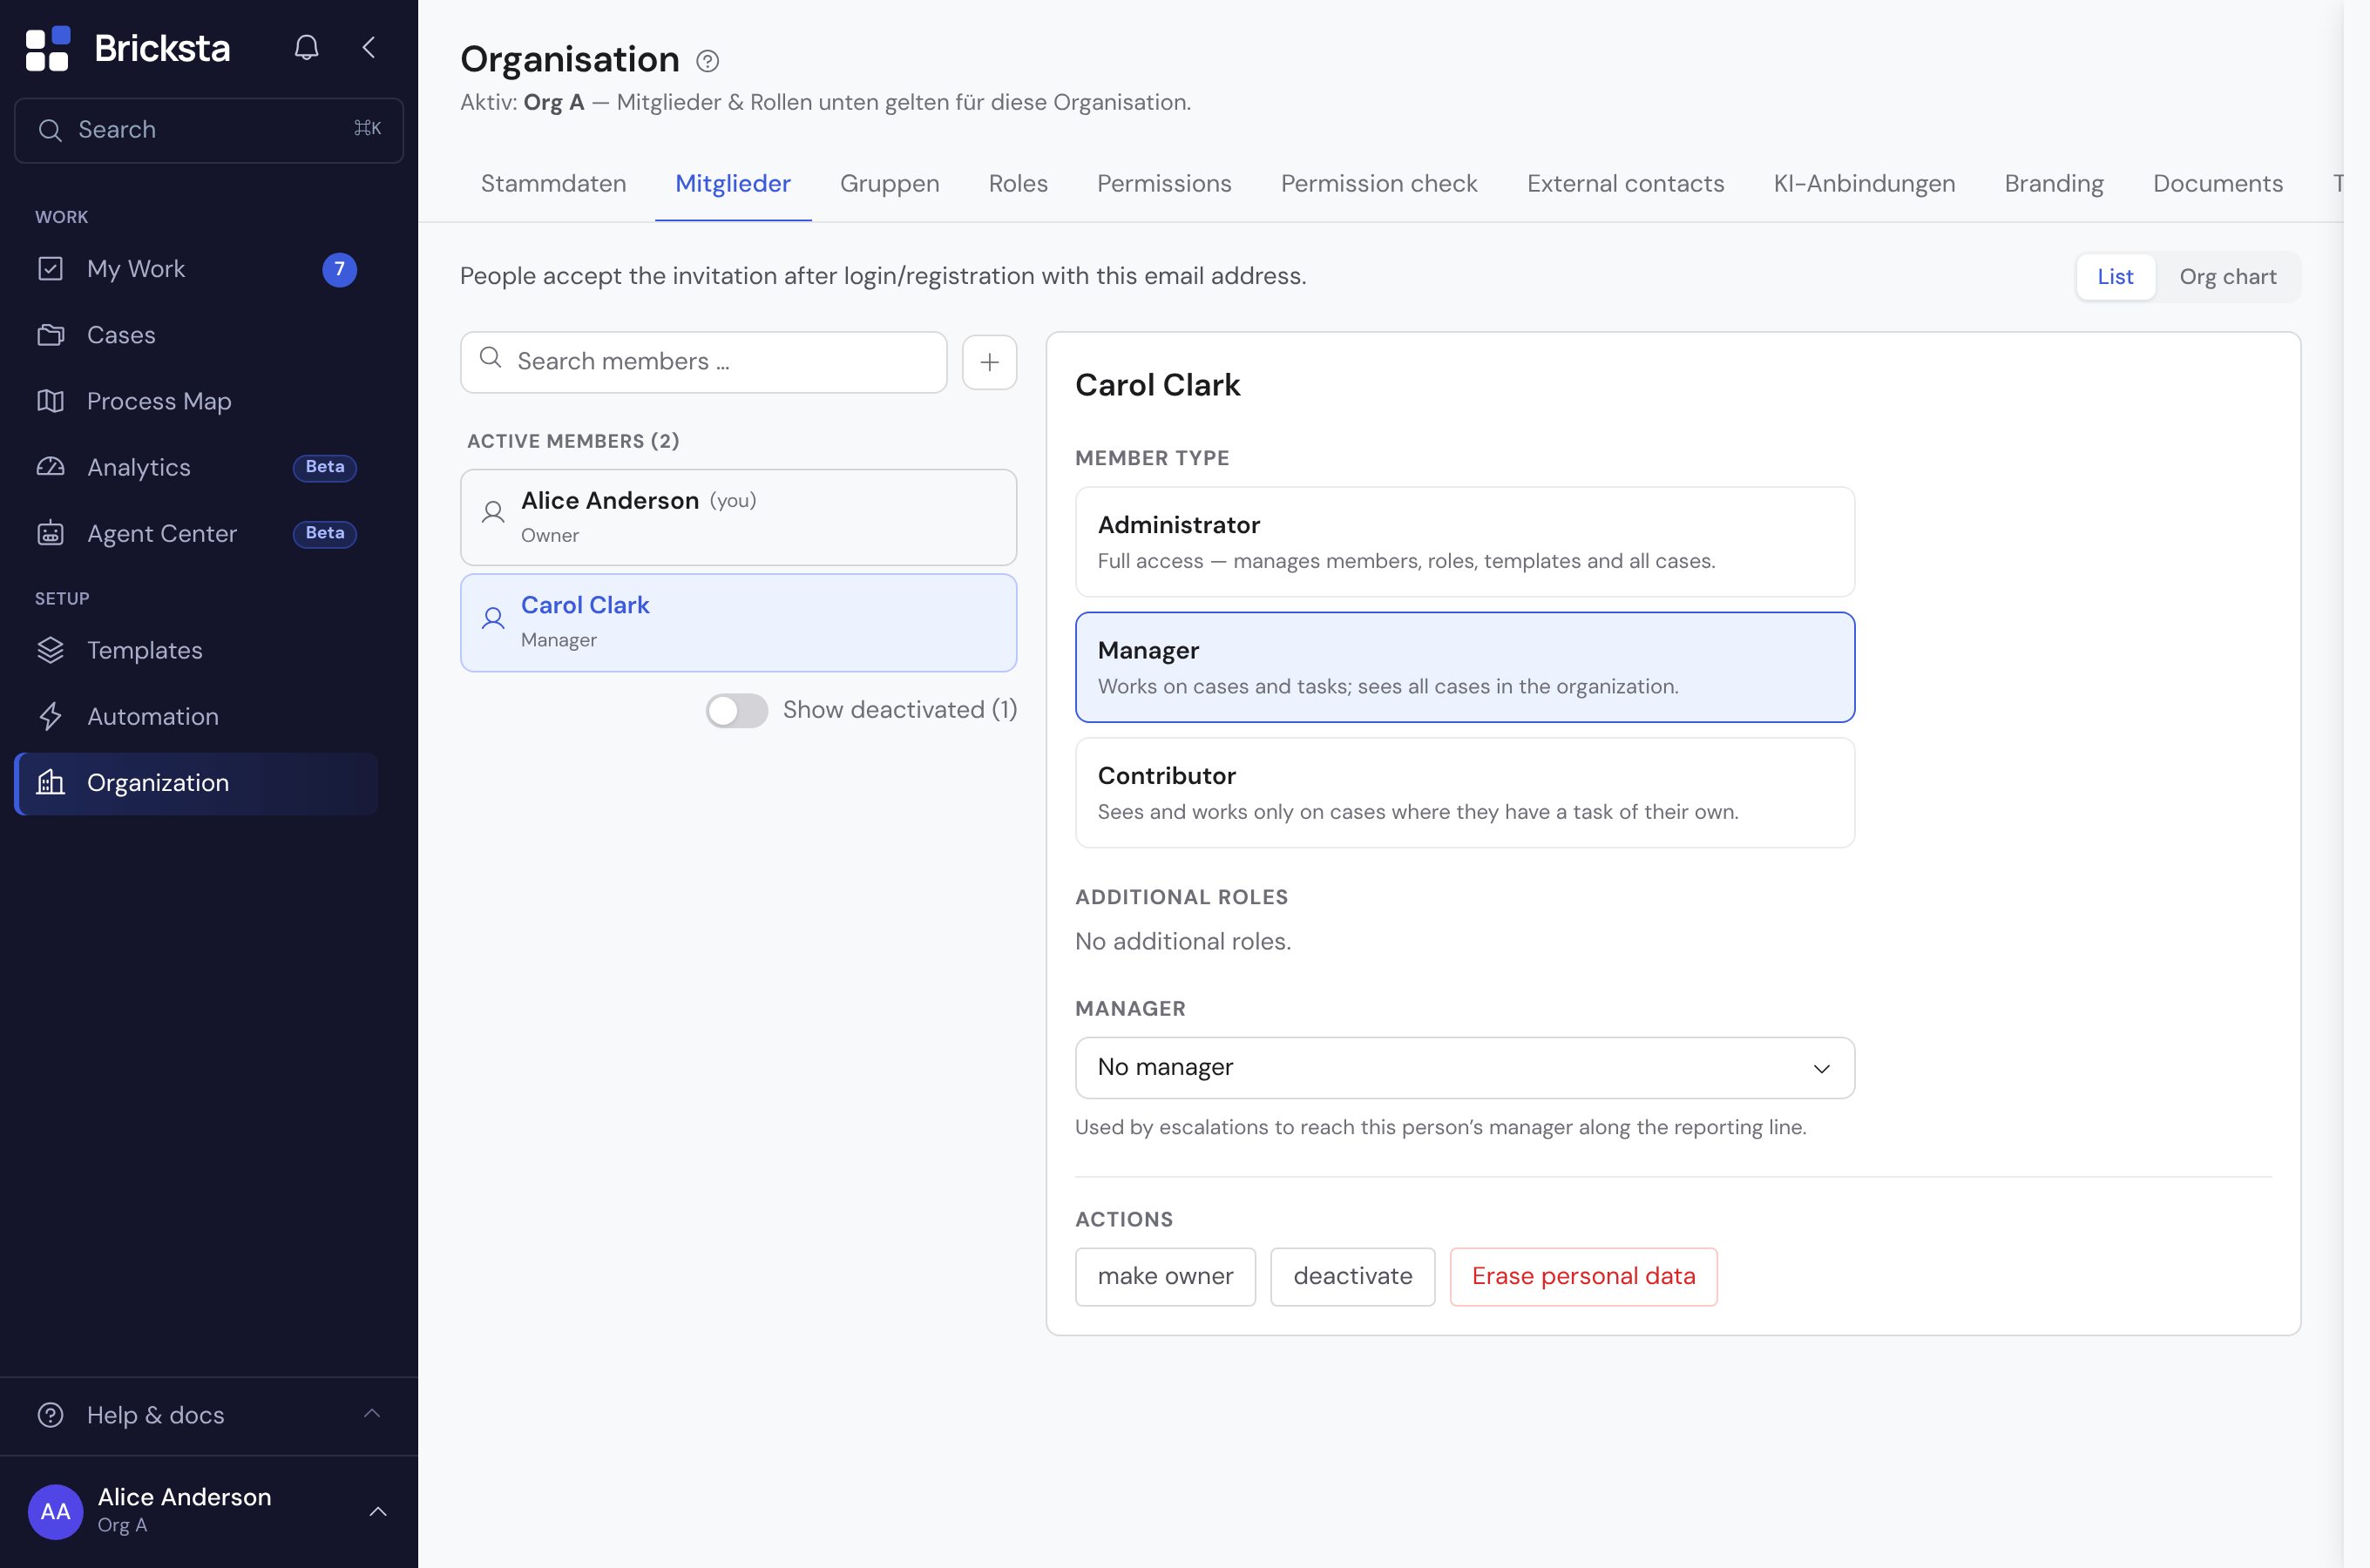
Members are internal people with an account and permissions. External participants — applicants, points of contact, guarantors — are managed separately under Organization → External contacts: there you see them organization-wide and can revoke their portal access.
Inviting members
The plus next to the search field opens an invite panel. There you enter one or several email addresses at once — type and confirm with Enter or comma, or paste a whole list; each address becomes a chip. Bricksta flags invalid addresses and people already invited and skips them. Pick one shared role for everyone and invite them together. Each person accepts the invitation with their email after login or registration and then appears as an active member.
Creating a member directly
For internal test or special cases you can, in the same panel under “Create member directly”, also create a person directly with email and password instead of inviting them — they can sign in immediately. Use this deliberately and treat the credentials as confidential.
An account created this way stays “managed”: its details show a Master data section where you can change this person's name, login email and password at any time afterwards. Invited or self-registered members deliberately don't have this section — they manage their own credentials.
Assigning the member type and ownership
You assign a member type to each member. The type sets the baseline: how much of the organisation someone sees at all, and what they bring with them — for example only collaborate, or also manage templates and settings. Anything beyond that comes from a permission profile (Organization → Permissions), not from a role: a role only says which job someone holds in a case. Via “Make owner” you transfer ownership of the organization to another member. What the individual types may concretely do and how visibility works is explained in the article Permissions and visibility.
Grant roles as sparingly as possible: most members do not need administrative rights to collaborate.
Instead of authorizing each person individually, assign a permission profile under Organization → Permissions to an entire group — all members of the group then carry it, and whoever joins or leaves later gains or loses the rights immediately. A ROLE can be assigned to a group organization-wide as well (under Organization → Roles); that makes the group addressable for tasks and approvals, but grants no rights.
Not every member is a human: an AI agent is a member of type AI agent with a tightly scoped executor role. How to create and control such agents is explained in the article AI agents.
Org chart: the reporting line
At the top right you switch between List and Org chart. The org chart shows your organization's reporting line as a tree: who reports to whom (manager → report). This line drives escalations — they can climb several levels up along the managers. A member has at most one manager; members without one sit at the top as roots. AI agents appear with a bot icon. With the “Manage members/roles” permission you change who someone reports to directly in the chart via a node's ⋯ menu — the same as the “Manager” field in the member details. On narrow screens it stays with the list.
When someone leaves the team, deactivate the member — access ends immediately, but the history stays fully intact.