On this page
Overview
The settings are organized into six areas: Profile, Organization, Password, Two-factor authentication, Connected accounts and Notifications. Everything concerns your personal account — organization-wide settings (members, roles, categories) live under Organization.
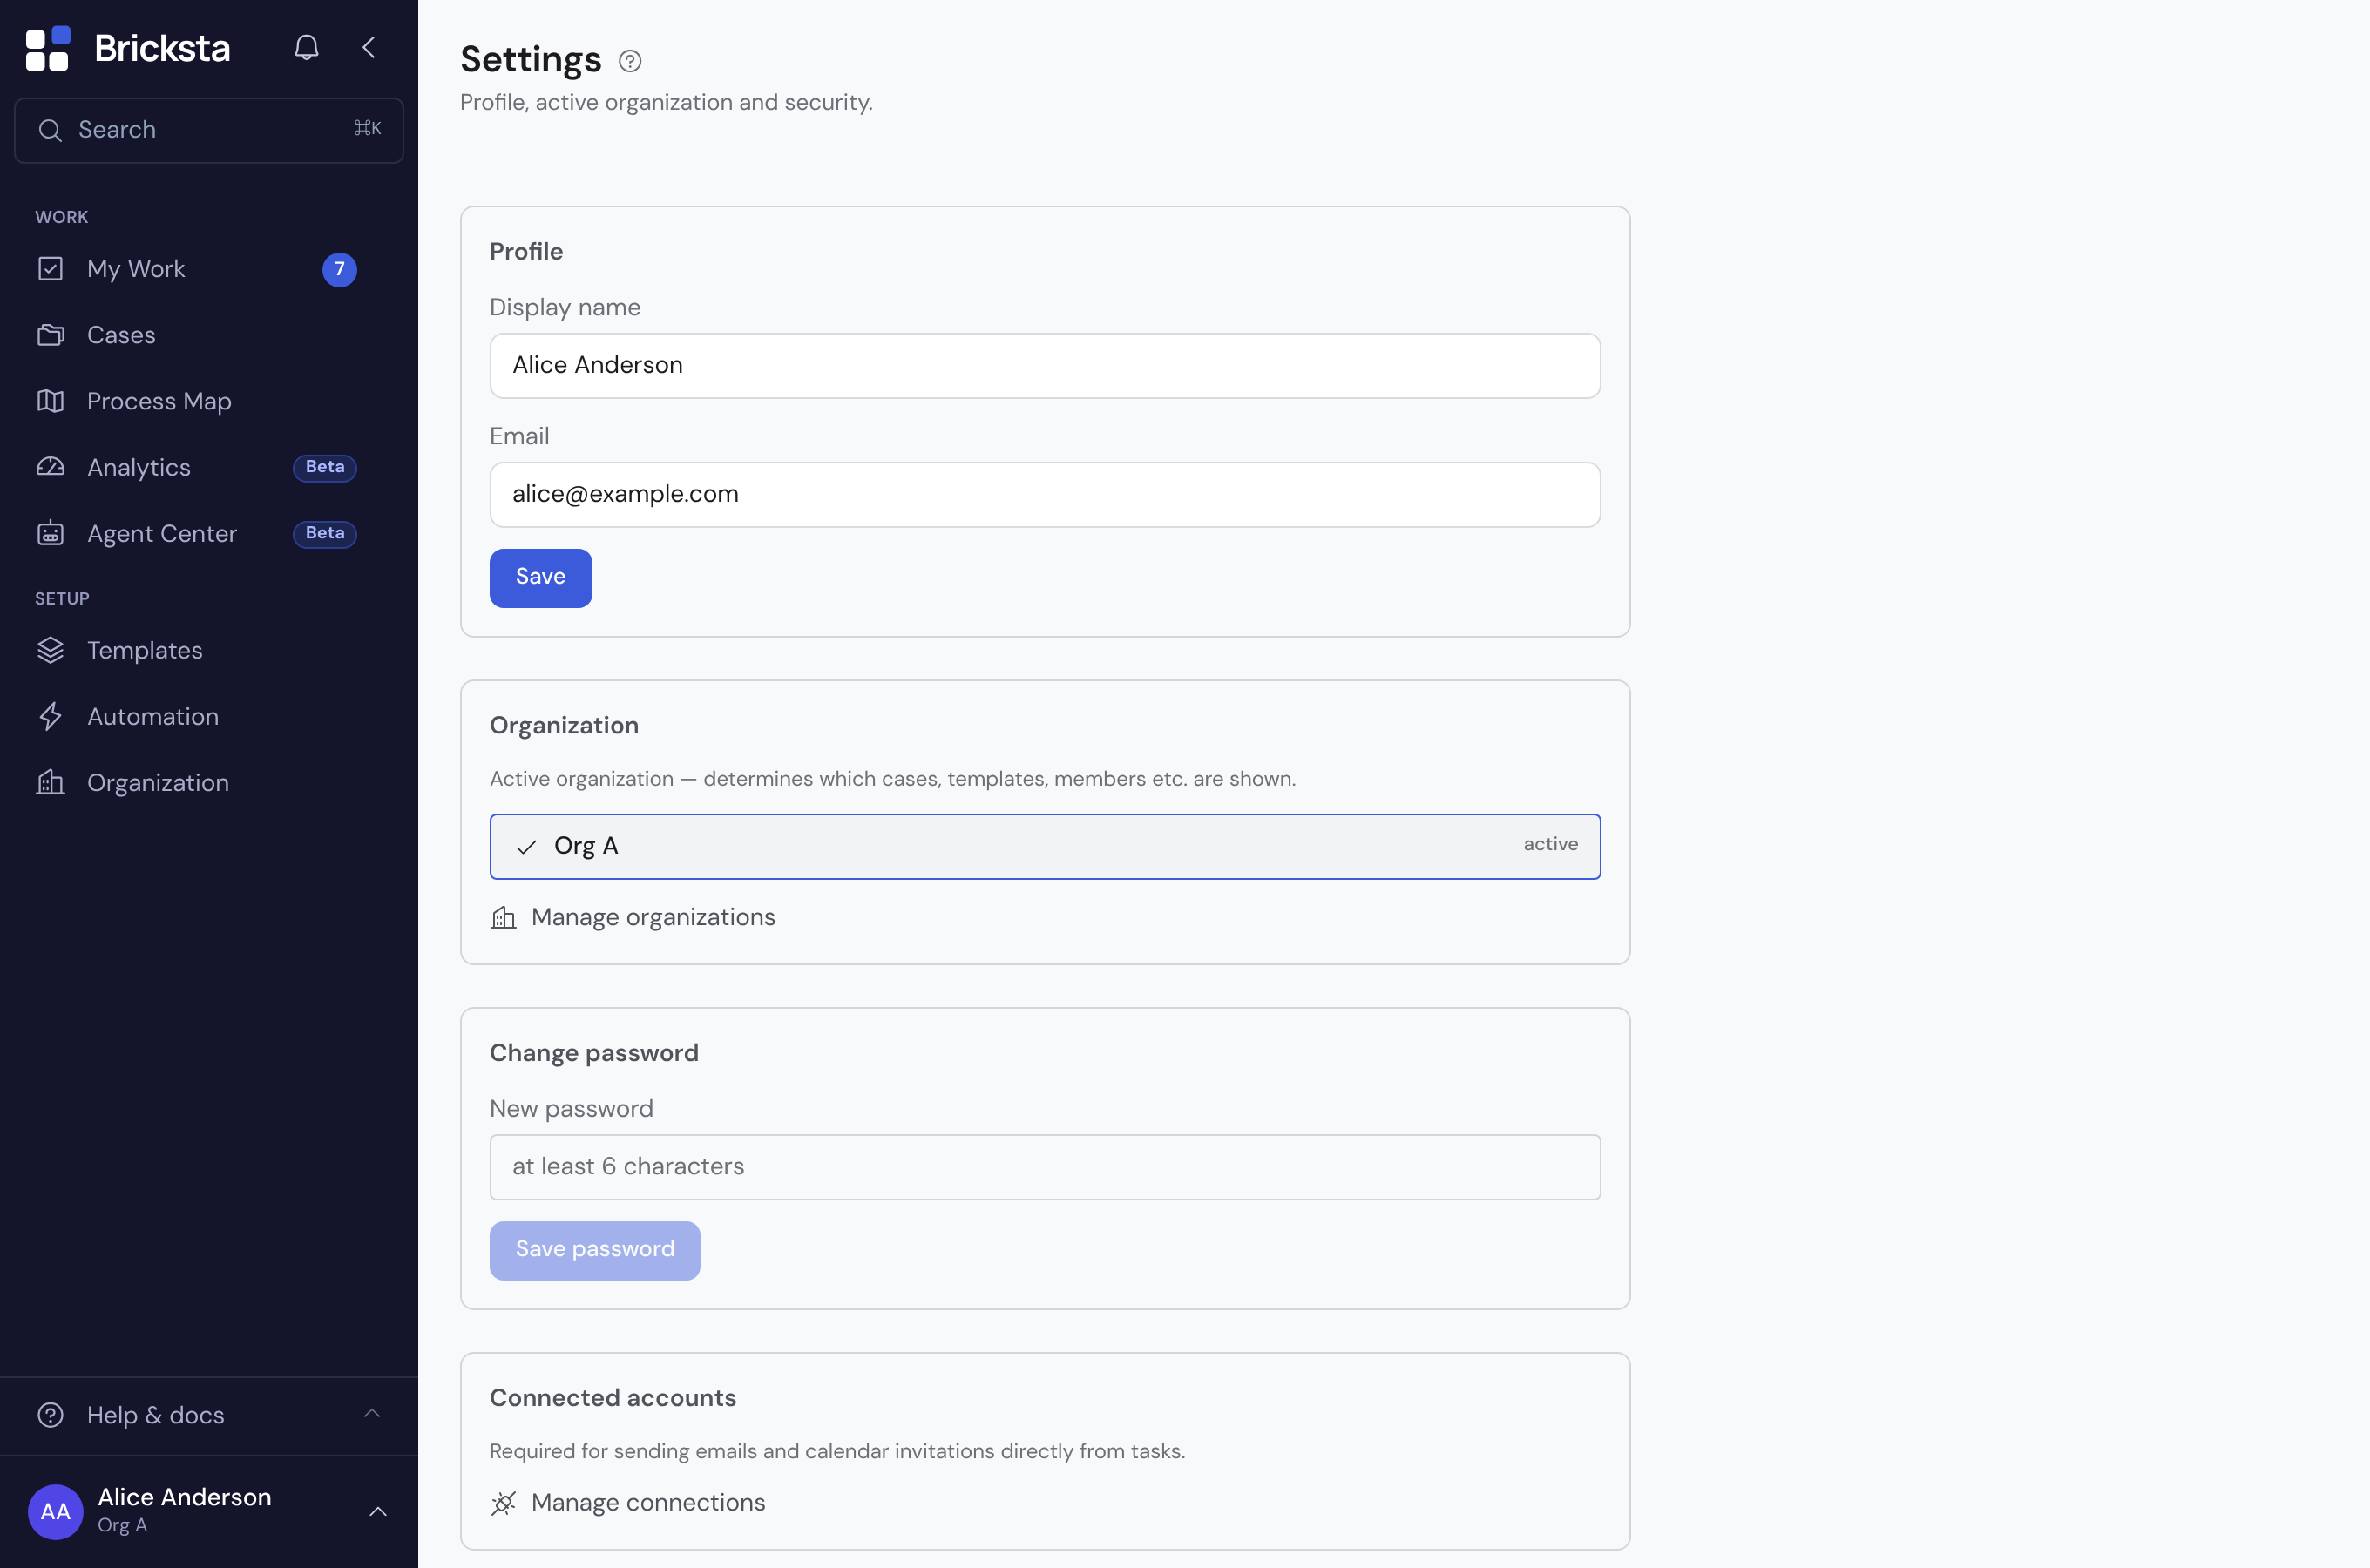
Profile
Set your display name. It appears wherever you show up as an owner — for example as the avatar on a task or as the editor in the history.
Active organization
If you belong to several organizations, the active organization determines which cases, templates and members are shown. Via “Manage organizations” you switch between them.
If you open a link — for example from a notification email — to a case, task or template from another of your organizations, Bricksta first shows a notice naming both: the object's organization and the currently active one. Only after “Switch to …” does it change over and open the content. That way the page content and the organization shown at the bottom left always match.
The reverse also holds: if you switch organizations yourself in the user menu at the bottom left while a single case, task or template is open, Bricksta takes you to the matching overview of the new organization: Cases, My Work or Templates. The open object belongs to the previous organization and would be out of place after the switch. If you lack the permission for that overview in the new organization, you land on My Work instead. Every other page stays where it is and simply shows the new organization's content.
If your membership in the active organization ends while you are signed in, Bricksta says so explicitly on your next page change (“Access to this organization ended”) and offers you the choice of another one. Lists and figures do not simply run empty — empty lists would read as “there is nothing to do” rather than “your access was revoked”. If your access cannot be checked right now — a disrupted connection, for instance — it says “Access couldn't be checked” instead, with a button to try again; that too is deliberately kept distinct from a revocation. If the page is usable despite the disruption — because your role and permissions have already loaded — it stays put and the notice appears as a slim band above it rather than as a whole page: a working page is never traded for a message.
Changing your password
Set a new password at any time. Choose a strong one that you do not use elsewhere.
Two-factor authentication
Protect your account with a second factor: once set up, signing in requires a one-time code from your authenticator app (e.g. Google Authenticator, Microsoft Authenticator or 1Password) in addition to your password.
Enable two-factor authentication — it is the single most effective step to protect your account. A second registered authenticator serves as a backup in case a device is lost.
Connected accounts
Connect your personal Microsoft 365 account (Outlook, Calendar, Teams) to send emails and calendar invitations directly from tasks. The connection is personal — each user connects their own account under Settings → Connected accounts. Once connected, tasks with the Outlook channel show a panel with two options: Create draft (opens the message in Outlook for final sending) or Send directly (sends immediately and automatically completes the task).
For the send channel Bricksta reads no email content — only send confirmations from your Sent folder. Exception: if your digital twin is active and you click “Import from Outlook” there, Bricksta reads the content of your own sent emails (last 24 months, up to 200) and stores them as private twin knowledge — your own mailbox only, never received mail.
Notifications
Every notification you receive in Bricksta can also reach you by email and as a Microsoft Teams pop-up — for example when a task is assigned to you, you are mentioned, an approval is pending or a case is escalated. Under Settings → Notifications you control this as a matrix: for each group (assignments, due dates, mentions & comments, approvals, shared items, escalations, external submissions, case status, analytics digest, other) there is one switch for Email and one for Teams. At the top, a master switch per channel turns a whole channel on or off at once. Both channels are on by default for all groups; the setting applies to your active organization.
The Teams switches only become available once an administrator has enabled Teams for your organization — under Automation › Integrations › Microsoft Teams (enter the directory/tenant ID and Teams catalog app ID and switch it on). Until then the Teams switches are greyed out and only the email switches take effect.
The in-app notification on the bell always remains, regardless — turning a group off only affects email or Teams.