On this page
Guided missions: „Getting started“ inside the app
You do not have to read any of this. Your home page („My tasks“) carries a „Getting started“ card with four short missions — create a template, start a case, complete a task, roles & permissions. Pick one and Bricksta walks you through the REAL flow step by step: the screen dims, only the next element stays lit, and it only moves on once you have actually done the action. Whatever you build along the way stays — this is not a sandbox.
Only what you have walked through yourself gets ticked off: the tick stands for your own walkthrough, not for the templates and cases your organization already has. What already exists decides something else — whether a mission can run at all. Missions whose prerequisite is missing are greyed out and say why („needs a published template first“). Every mission can be restarted at any time, and Esc or a click beside the highlight gets you out — your progress is kept.
If you have been working with Bricksta for a while, the list still starts out open — even though templates, cases and roles exist already. That is deliberate: whether someone has been through the introduction is a personal question, and your organization's inventory does not answer it. Once you have completed every mission you can see, the card congratulates you briefly and points at what to explore next; the walkthroughs stay available afterwards — „Show the walkthroughs“ expands the full list, each mission with a „Again“.
The card can be dismissed: closing it once collapses it to a slim strip, a second close removes it for good. The list stays reachable either way — via „Help & docs“ at the bottom of the sidebar, then the entry „Getting started“ (next to „Documentation“, which opens the matching article in a new tab). There the missions appear as a numbered path: the one that is up next is highlighted and carries the „Start walkthrough“ button, completed ones carry „Again“, and the header gives a rough figure of how many minutes are still open. What you see depends on your permissions and is tracked per organization; on a phone only „Complete a task“ appears, because building processes and setting permissions are desk work.
The core idea: template, case, task
Everything in Bricksta builds on three terms. Once you understand these, you understand the product — the rest is convenience and automation around them.
- Template
- The reusable blueprint of a flow — which tasks are to be done in which order, organized into workflows and phases. The template does not run itself; it only describes.
- Case
- A concrete run-through of a template. This is where the work happens: a case has a status, a progress and a complete history.
- Task
- A single step within a case — with an owner, a status and optionally fields captured while working on it.
Within a template the tasks are organized into two further levels — and every case takes on this structure unchanged:
- Workflow
- A self-contained strand of a flow. A template can contain several workflows that run side by side — for example a subject-matter strand and an accompanying one.
- Phase
- A section within a workflow that bundles related tasks. Phases run one after another: only once a phase is done does it release the next one.
How they connect: a case is created from a template with one click. The case takes on the template's structure — one or more workflows, with phases, with tasks inside — and runs it with real data and ownership. If the template changes later, a case that is already running stays untouched.
Where you work — the navigation
The side navigation on the left is split into two areas: your daily work at the top (Work) and the setup below. Related pages sit as tabs under a single entry, so the bar stays short — the template world (with Categories, Process Types and the Task Library) and automation (inbound and outbound). From any page you jump straight into the matching article via “Help & docs”.
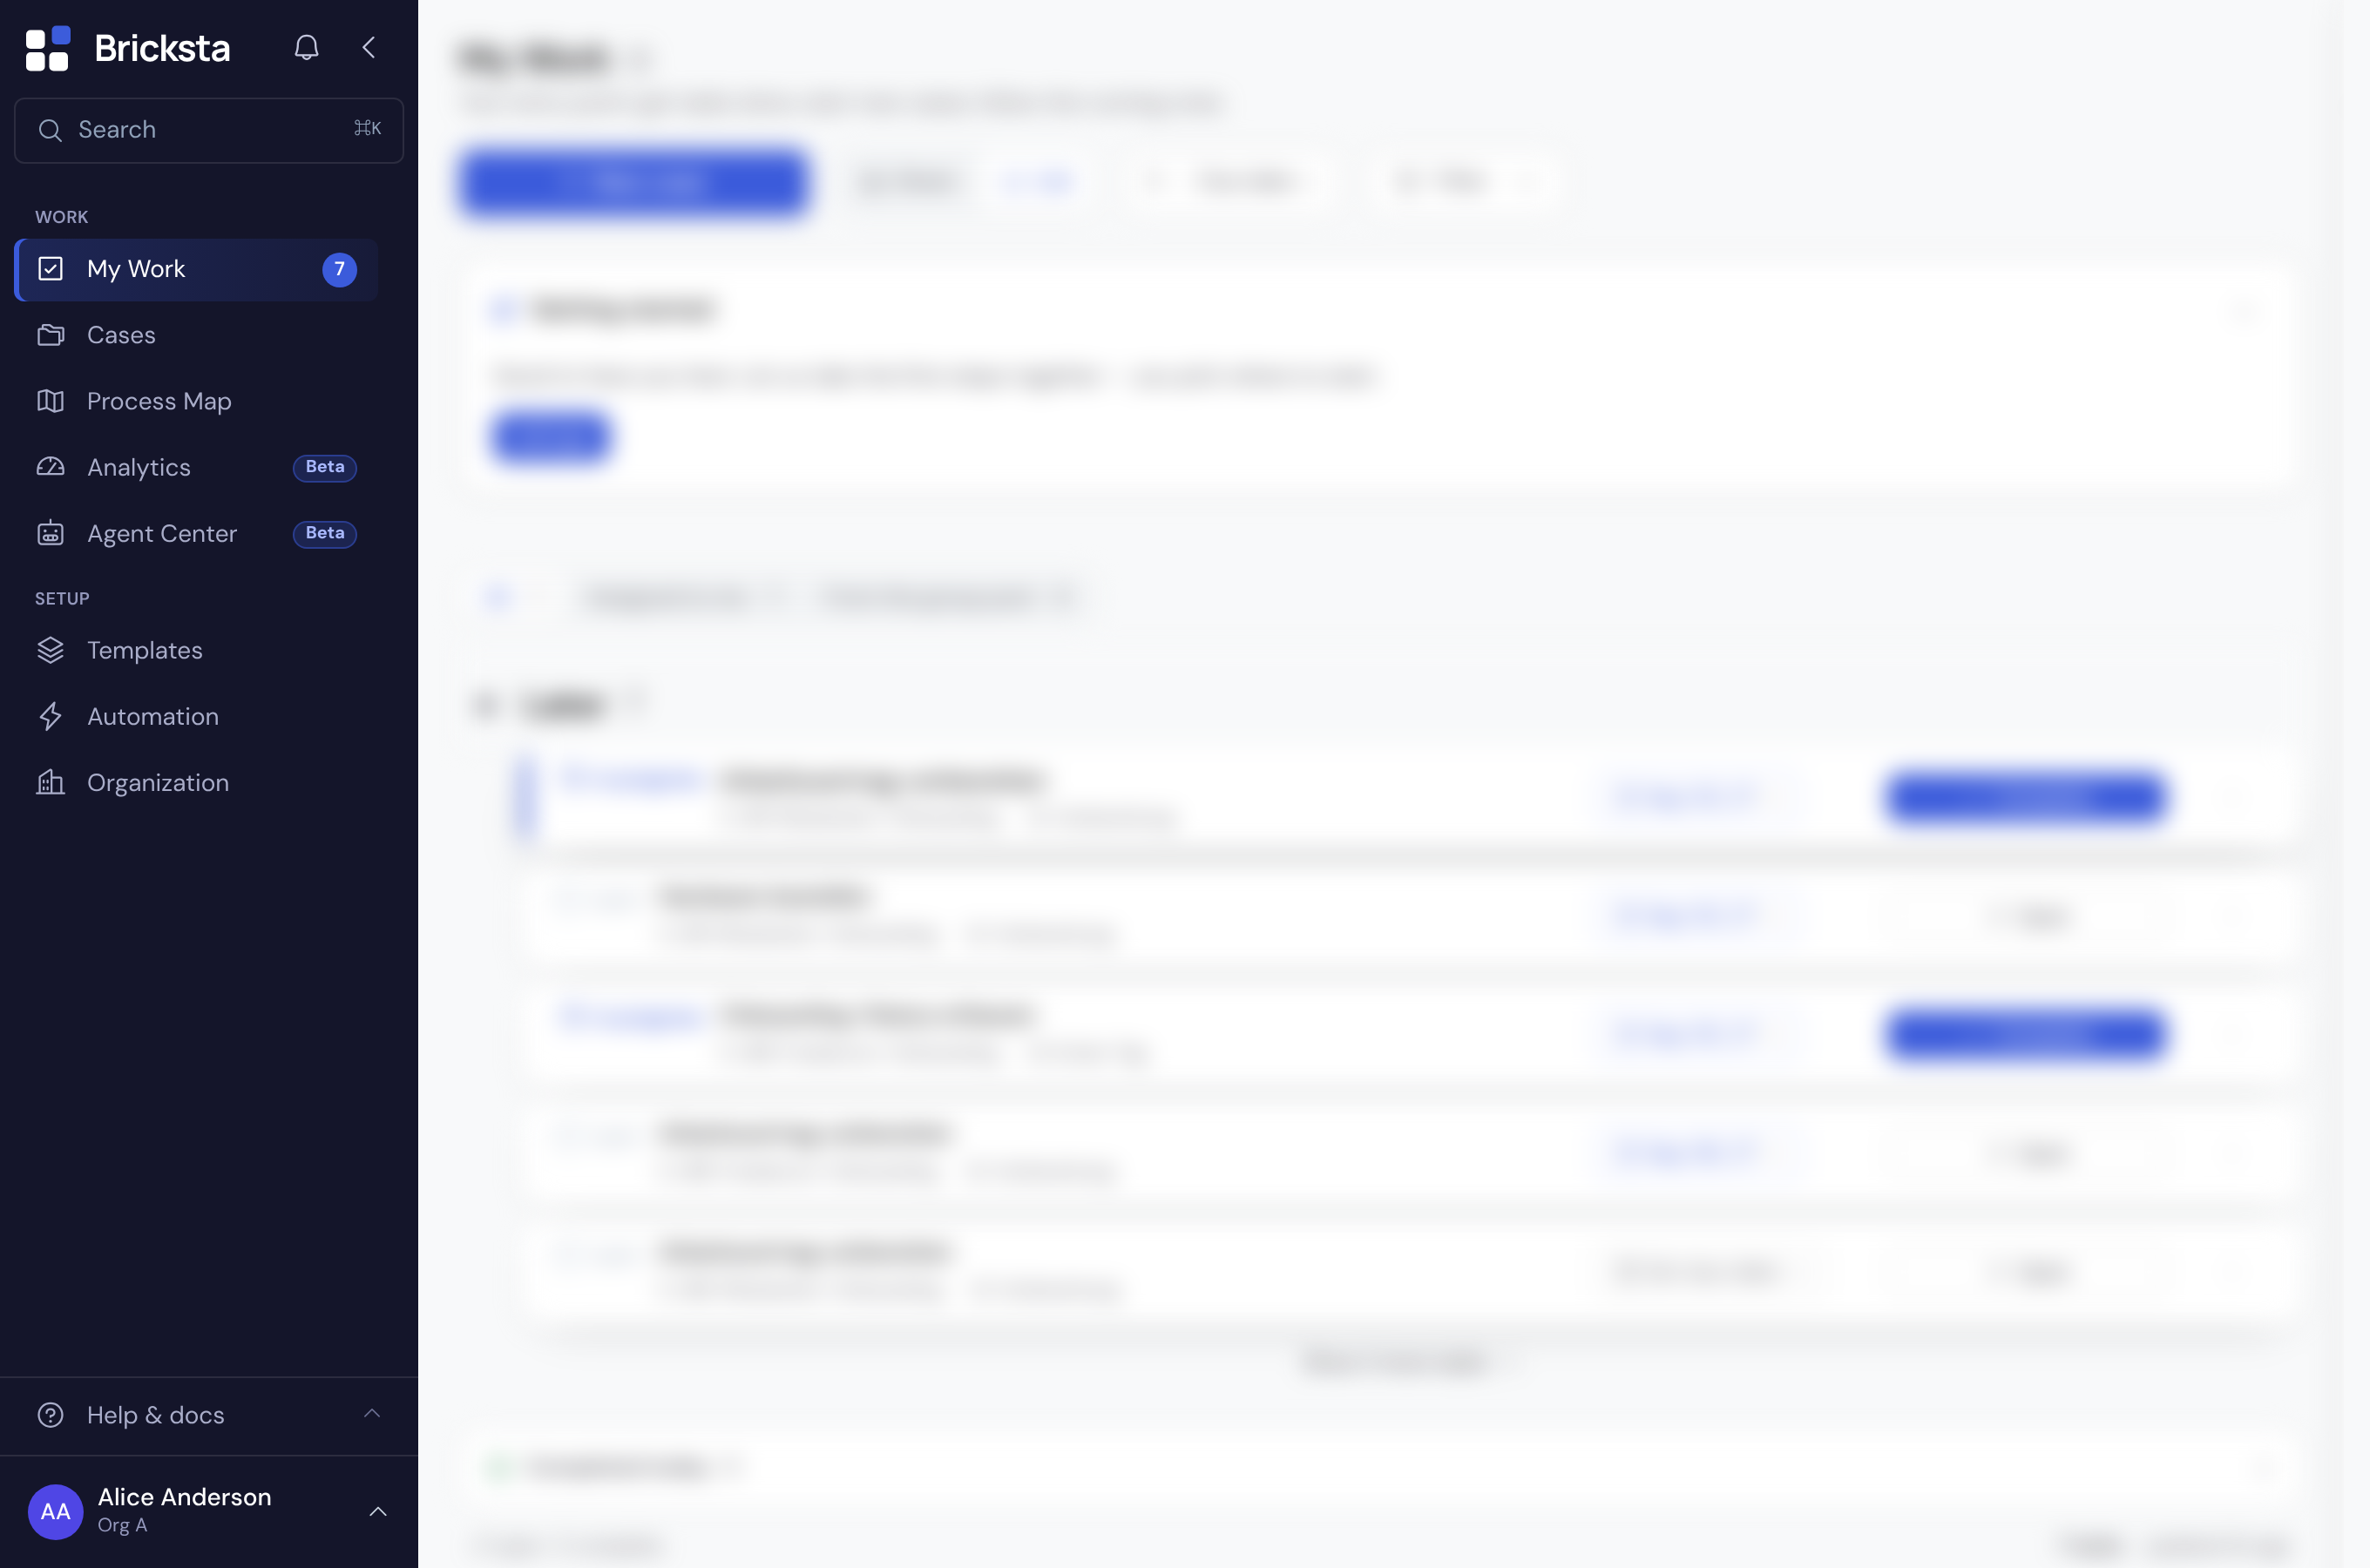
- My Work — your personal work list across all cases; the starting point for day-to-day work.
- Cases — all running and completed cases, as a list or as a Live Map.
- Analytics — the overview with the key figures; Activity (the event feed across all cases) sits here as a second tab.
- Templates — the blueprints cases are created from; Categories, Process Types and the Task Library sit below as tabs.
Step 1 — Start a case from a template
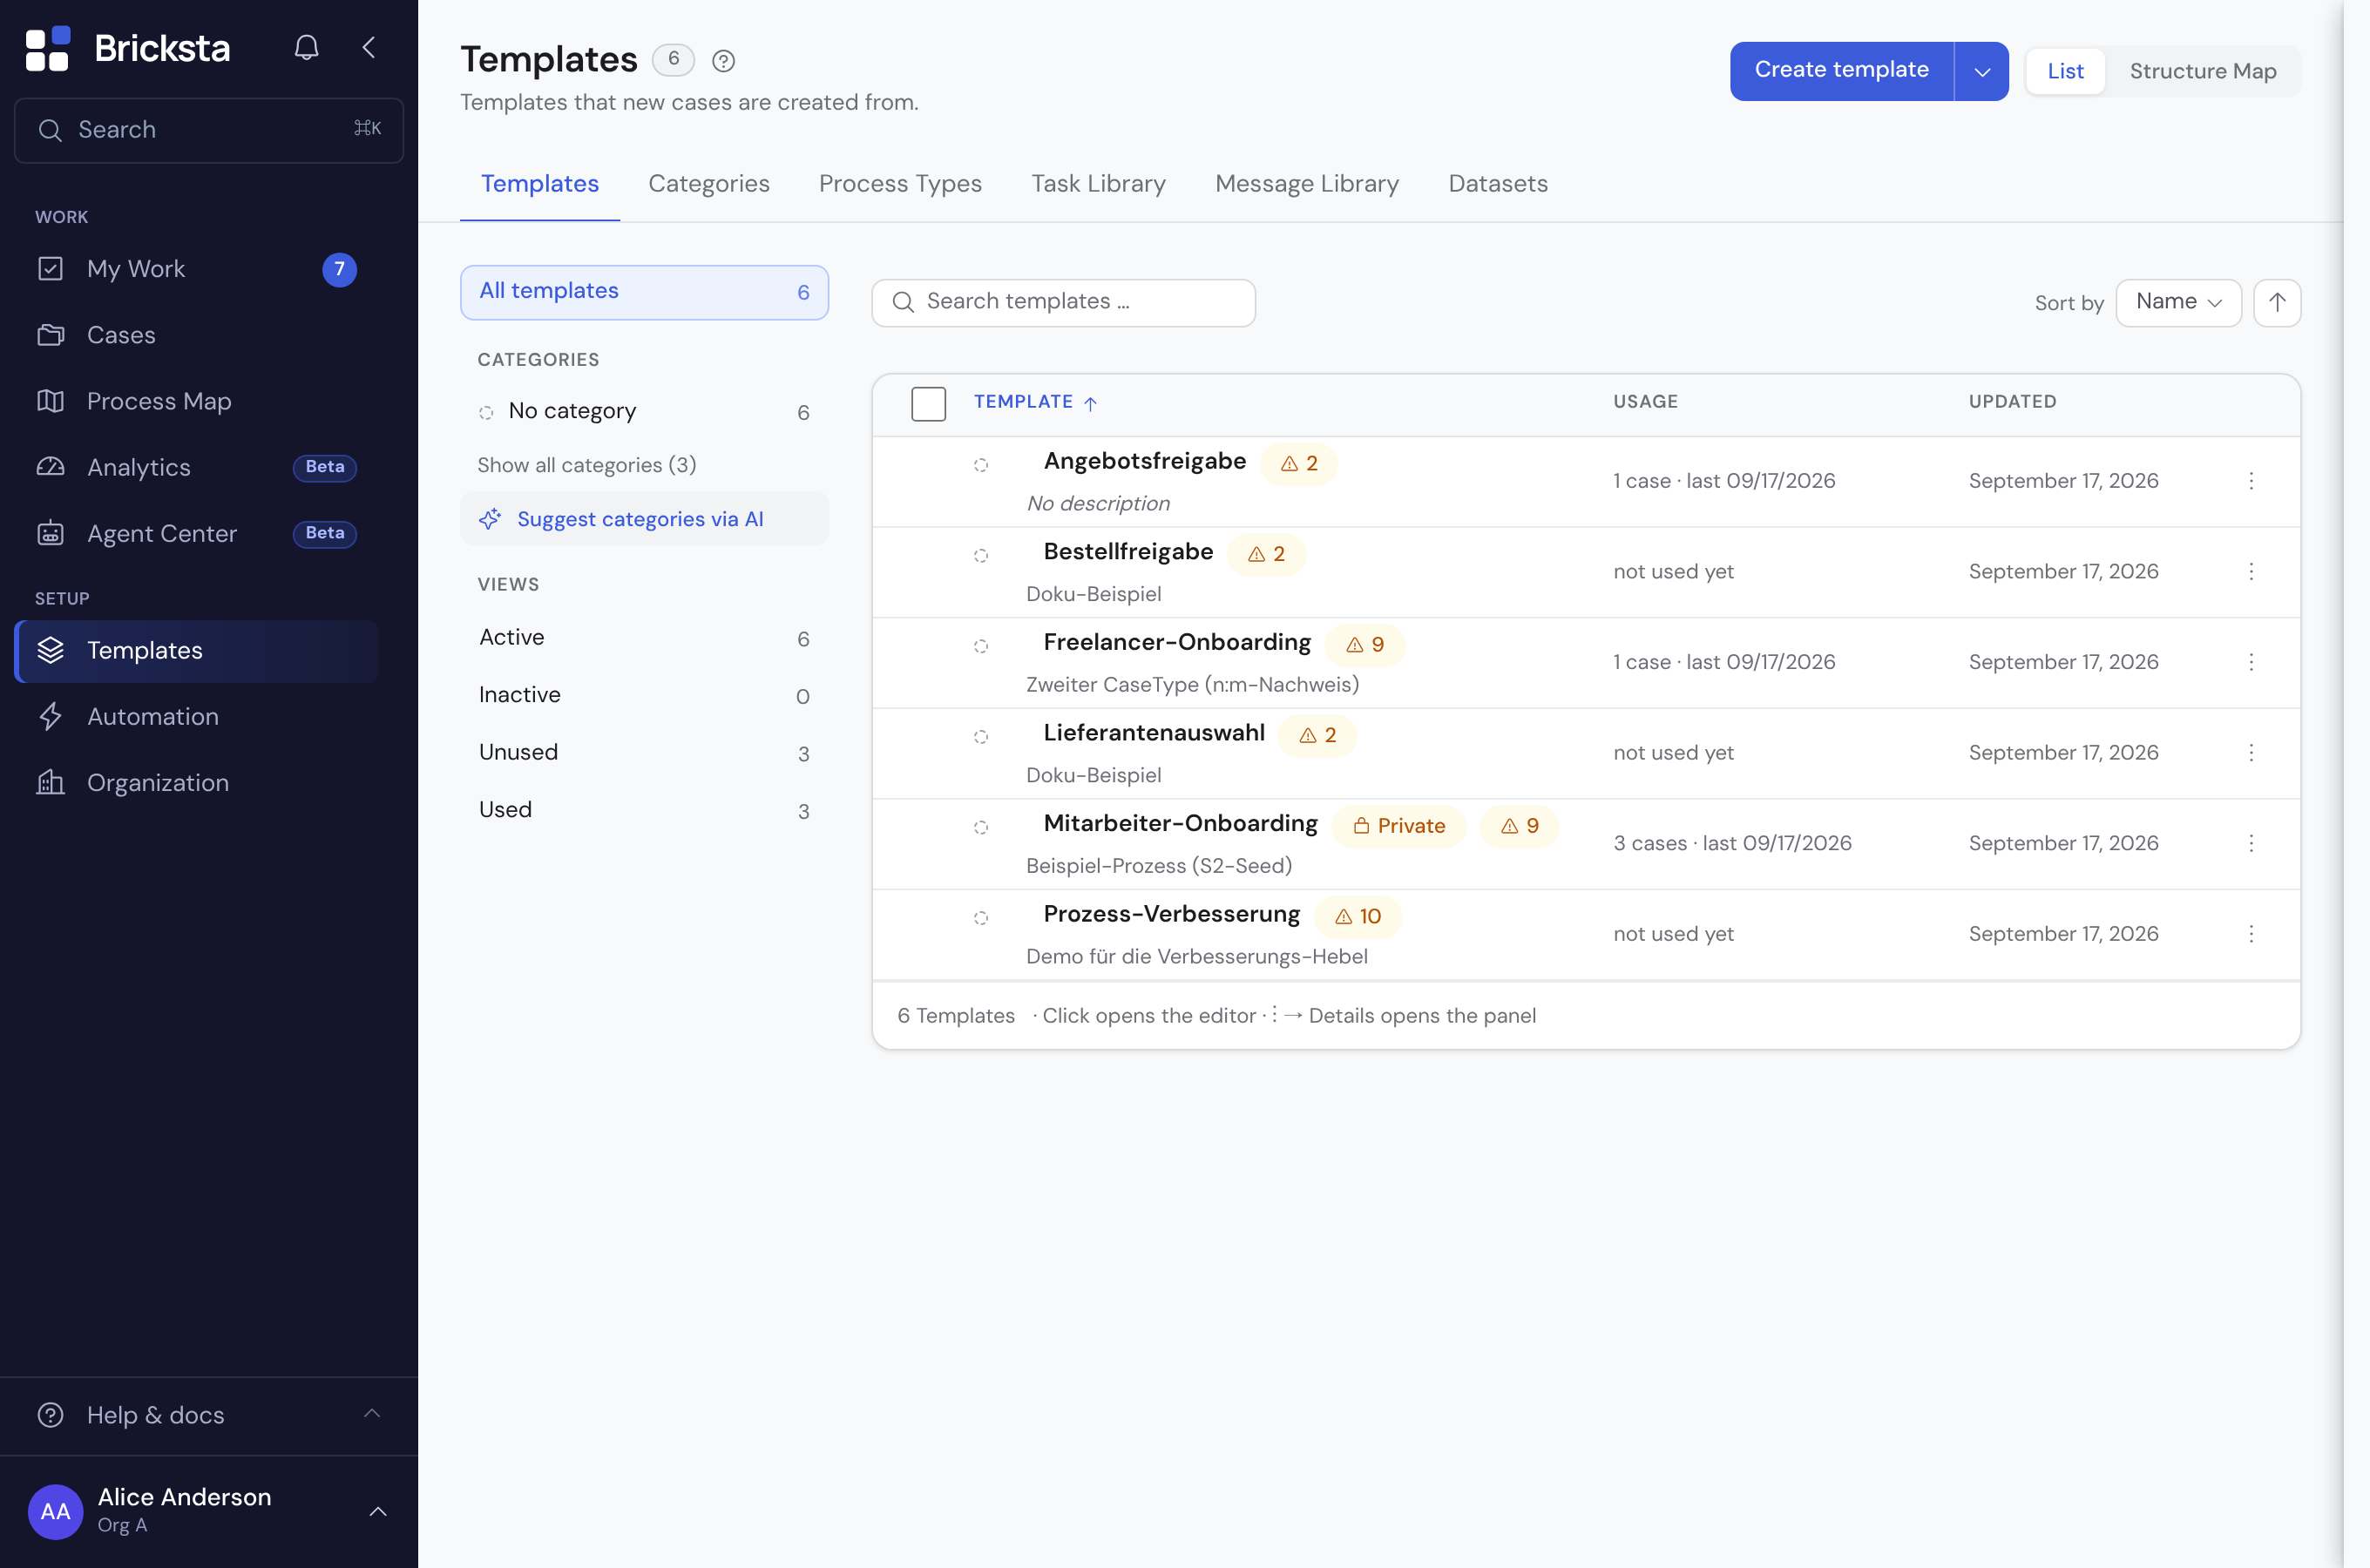
Open Templates. Each row is a blueprint; via “Create case” in the row's ⋮ menu you start a new case from it. Clicking the row itself opens the template editor instead. If you don't have a suitable template yet, create one via “Create template” — or have it generated from a short description in the “Generate process with AI” field (details in the article Creating and maintaining templates).
Step 2 — Understand the case: list and diagram
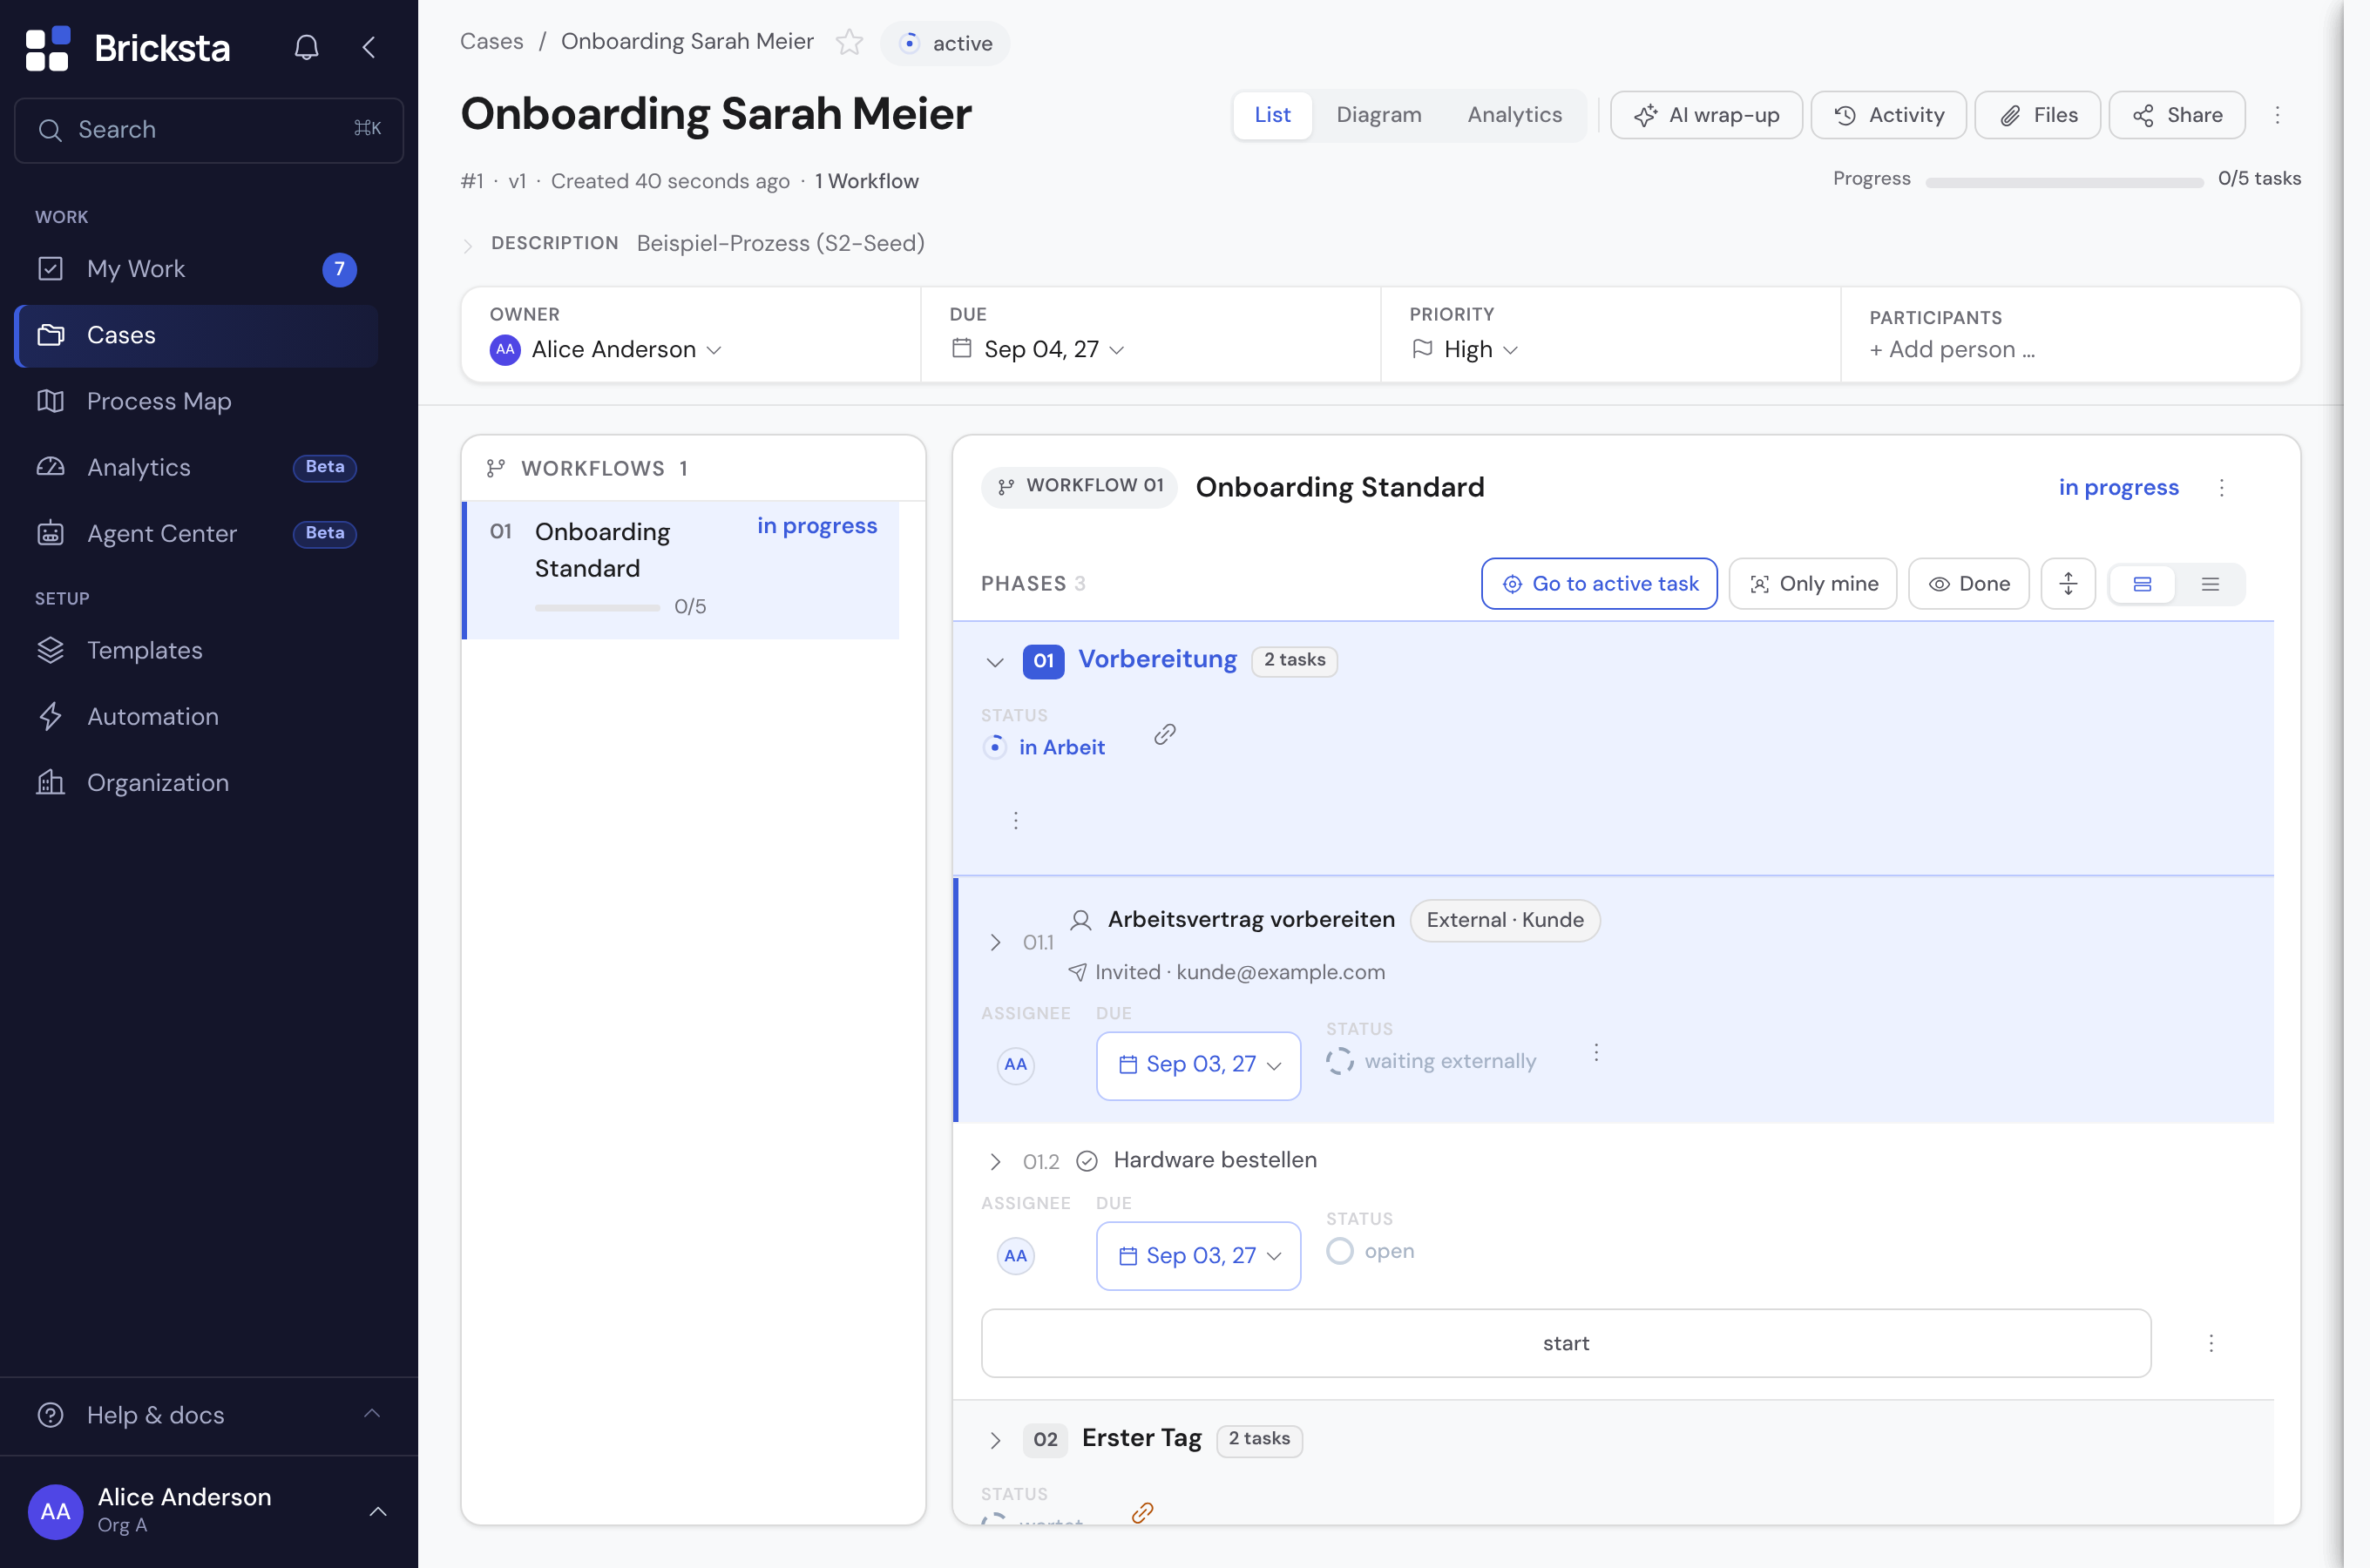
Clicking the case opens the detail page. At the top sit status, ownership, due date, priority and progress. The case shows the same flow in two ways — use the “List / Diagram” toggle at the top right to switch between them.
In the list view you expand the workflow instance and see the phases with their tasks. Each task carries its status and, on the right, the matching action button — “Start” for open tasks, “Complete” for running ones. A phase only releases the next one once it is done; that is why “First day” is still Waiting here.
The diagram view shows the same flow graphically: phases as boxes, their order as arrows, plus the live state — the running phase is highlighted, waiting ones are marked with an hourglass. The “Phases / Tasks” level toggle switches between the coarse and the fine view.
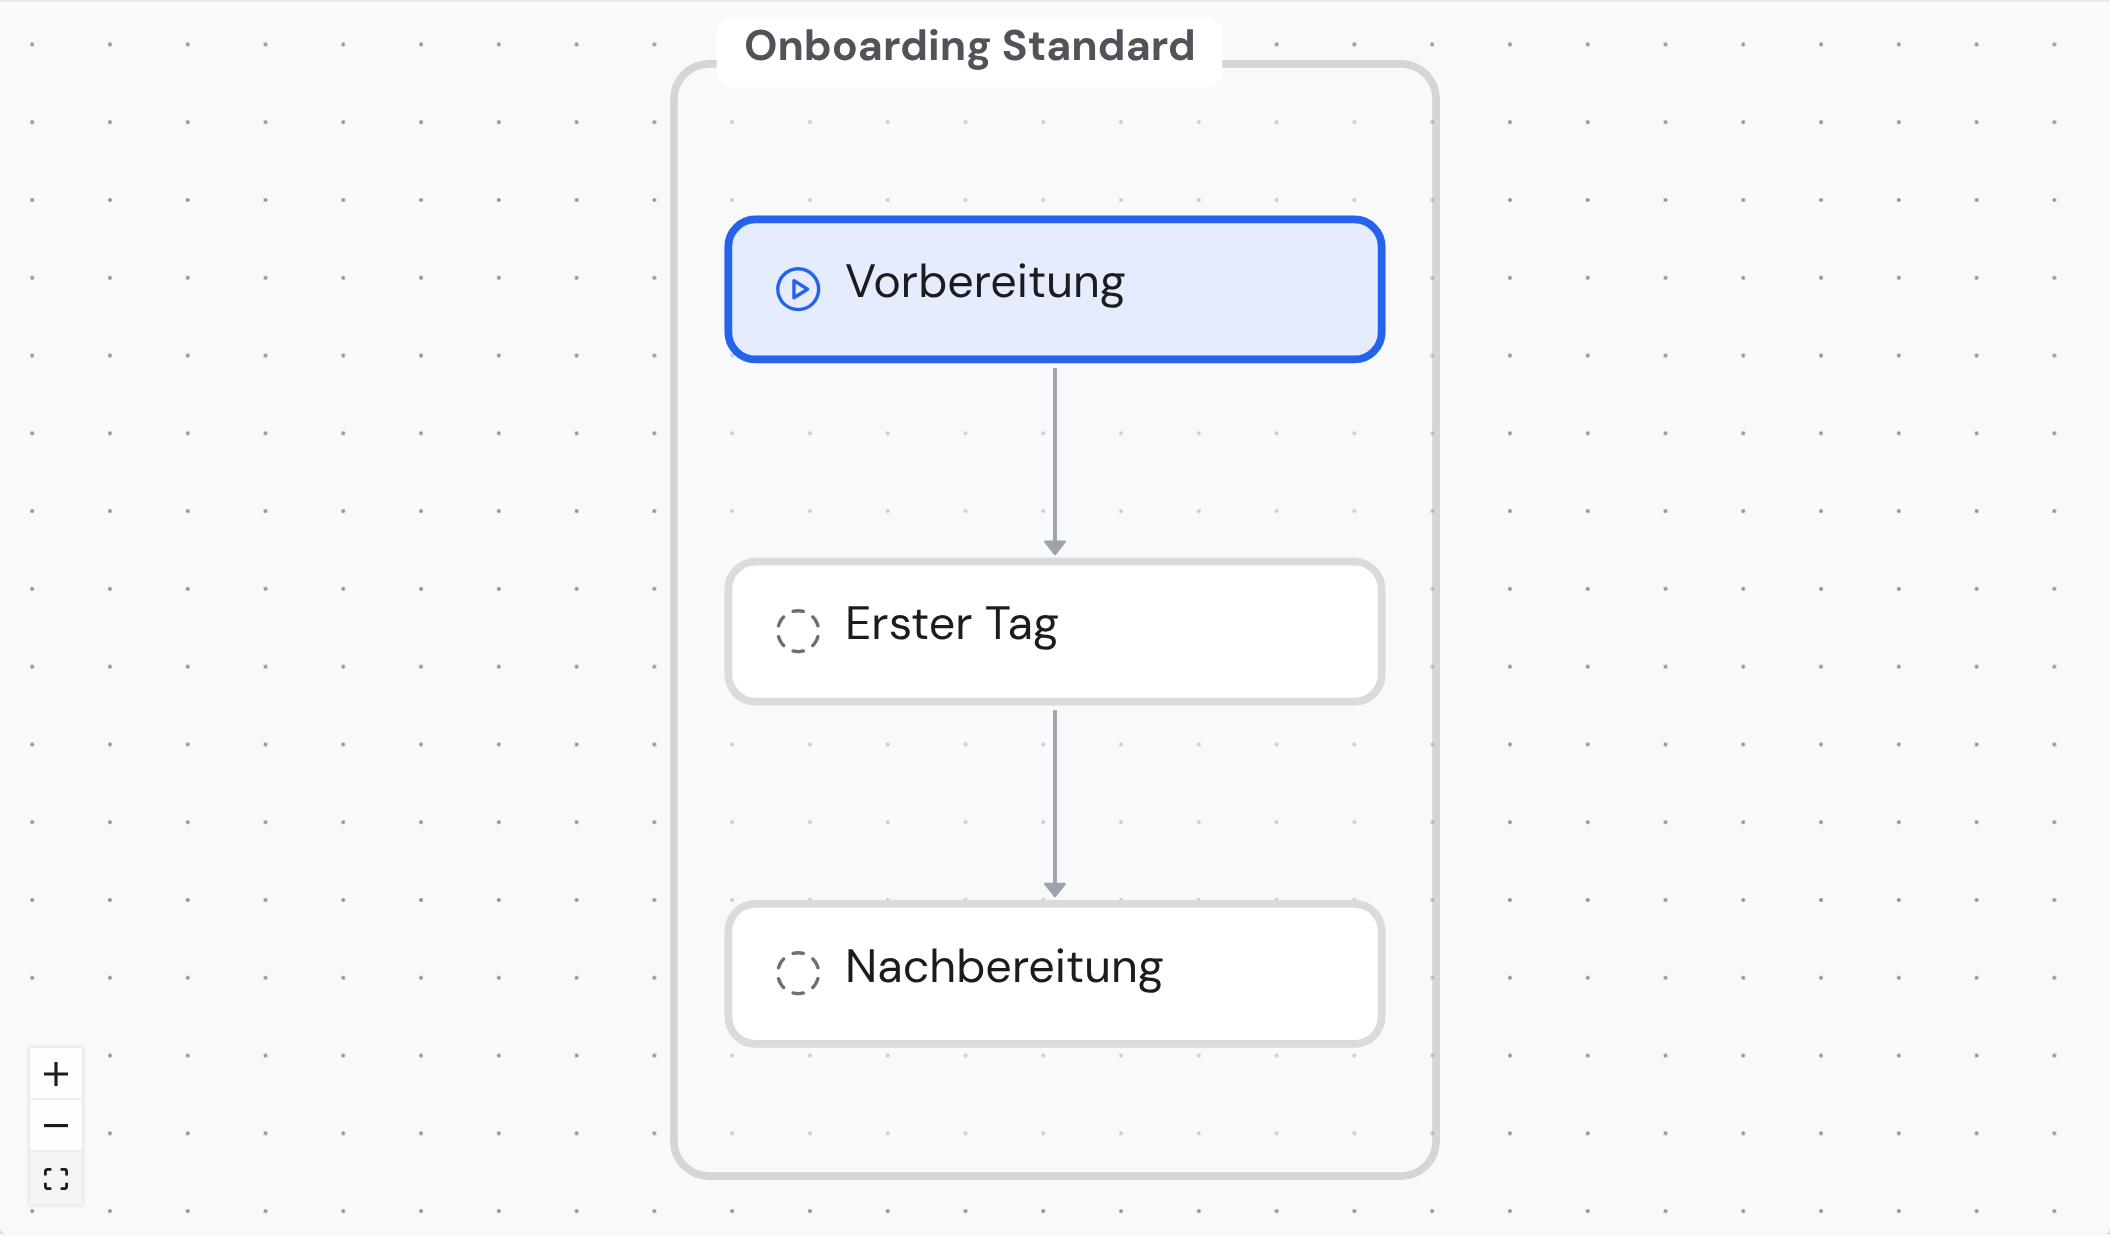
List and diagram show the same case — just presented differently. The list is for working (start, complete), the diagram is for understanding the flow at a glance.
Step 3 — Work through the tasks
You run your daily work almost entirely from My Work: it gathers every task assigned to you — across all cases, sorted by due date. You start and complete them right in the list, fill in fields and set priority or due date. The article Assigning and working on tasks shows how in detail.
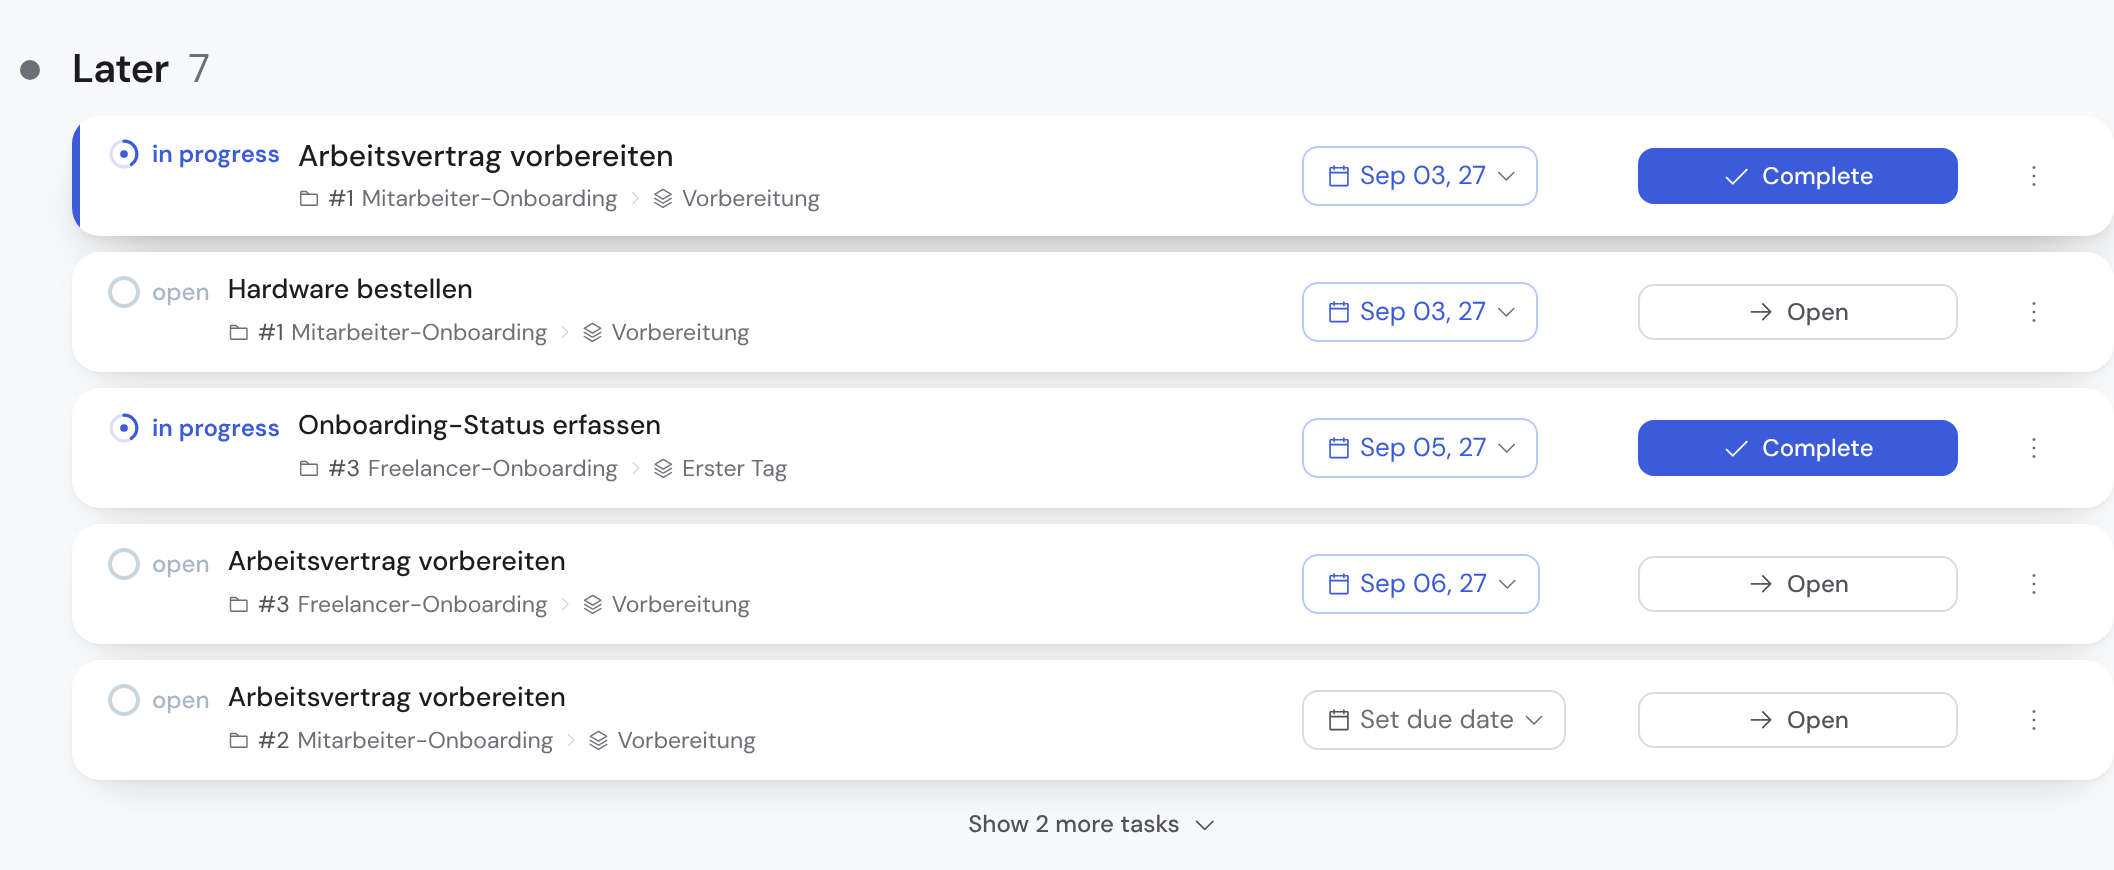
Completing a task automatically releases the following ones, and the case's progress updates on its own. Cases and My Work update in real time — if someone else works on the same case, you see it immediately.
In Bricksta the status is always the truth: what is done is done — there is no second, manually maintained progress alongside it. So every case is traceable at any time.
Where to go next
- Creating and maintaining templates — build flows, generate them with AI and refine additively.
- Starting and working on cases — the case view, states, participants and auditability in detail.
- Assigning and working on tasks — ownership, fields, priority and due date right in the list.
- The process map — the automatic overview of all your flows as a Live Map and Structure Map.